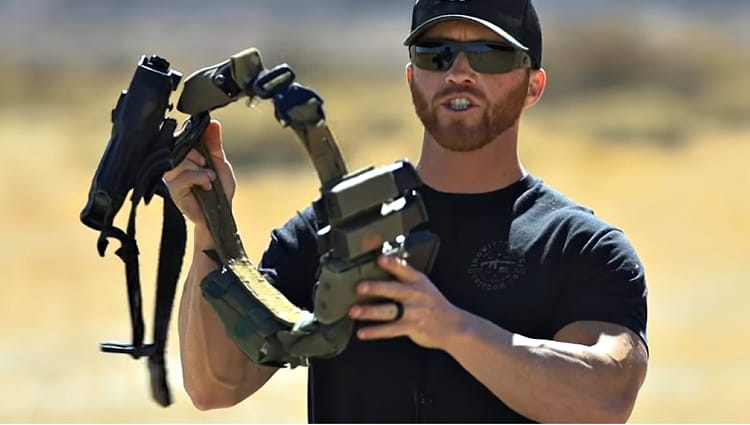
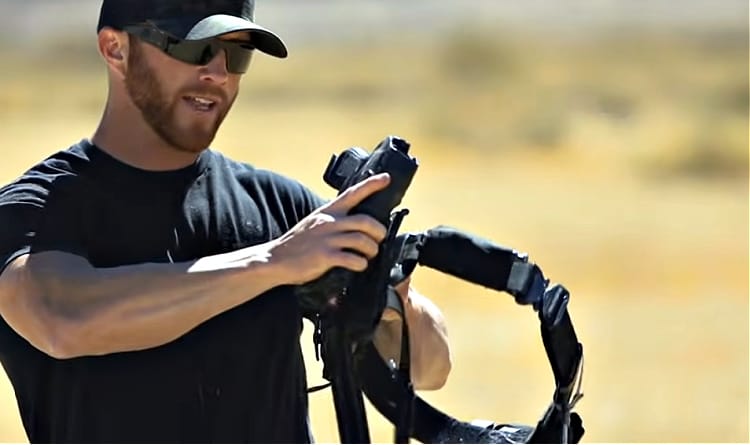
Tactical belt set-ups are and should be as personal to the user as their own underwear. As an example, Alex, a.k.a. the Iron Infidel, takes us through his own setup in the video you’ll find below, showing us what gear works for him and why. However, he is very clear in pointing out that your war belt should be done to match your needs.
“You need to understand one thing. It is never a good idea to blindly mirror the setup of somebody you see on the internet.”
So, just because you see a cool setup, whether it is a belt, plate carrier, or chest rig, you have to make sure that your setup matches your needs and preferences.
Ok, now that that’s out of the way, let’s dive into what he has done.
Finding the Right War Belt
Alex has gone through a whole mess of belts over the years trying to find the right one to match his needs the best. He started out with a large 2” nylon patrol/duty belt but found it too bulky and then went through a triple molle design as well as a double molle belt. He finally settled on a 1.75” Blue Alpha Gear double molle two-piece design. He likes the two-piece design because
it stays in place thanks to the inner Velcro belt that the outer belt attaches to, doesn’t move, and has no keepers. For him, it works great.
What Gear is Essential for a War Belt?
Before buying any new gear, Alex says you need to ask yourself two questions:
1. 1. Do you actually need the item?
2. 2. Why do you need to have the item?
Alex emphasizes the importance of consistent gear placement for consistent draws and reloads. It’s all about that muscle memory, baby. He’s used his war belt on patrol, for SWAT deployments as well as on the range and it works for him.

Tourniquet
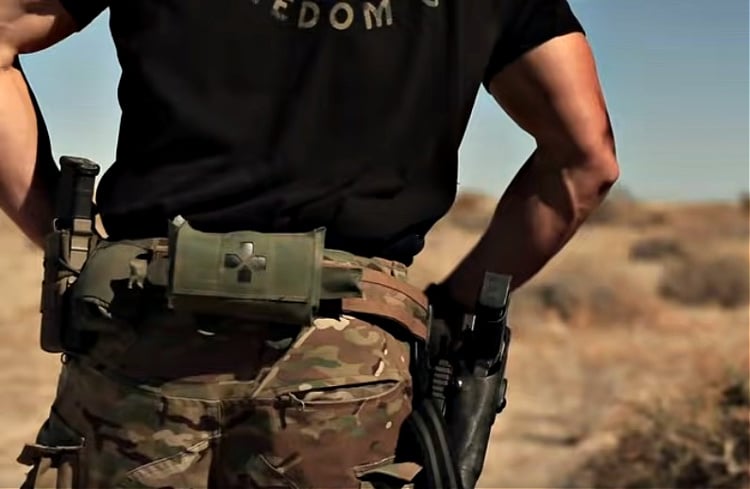
The first main item he went over was a tourniquet that is placed directly next to the cobra buckle. The biggest takeaway for him is that the tourniquet needs to be placed in such a place that both hands can reach and deploy it in an emergency. Speed and ease are paramount.
Holster
Next to his tourniquet is his Safariland ALS holster that is attached to his belt via a Safariland QLS (Quick Locking System). He loves to use the QLS to quickly and efficiently switch his holster from one belt to another one. Alex says that this combination is his favorite accessory.

Trauma Kit
Continuing around his belt, in the small of his back is his Blue Force Gear Micro Trauma Kit. Just like the tourniquet, the trauma kit needs to be placed so that both hands can reach the pouch and the items inside. He does stress that due to the placement of the kit, it’s not ideal for patrol folks since it will dig into the spine when sitting in a car for too long.

Pouches
Next to the trauma kit is a collapsible dump pouch. He doesn’t use a dump pouch too often, so for him, this Blue Force Gear Ultra Light dump pouch fits his needs. If you use your dump pouch like another pocket, go with something more durable or rugged.
After the dump pouch, he has his rifle and pistol magazine pouches. For the rifle magazines, he uses the TACO molle pouches which he can easily use a beer can grip to get the mag for reload. The pistol mag pouches are the Esstac KYWI pouches that he has the mags oriented with the toe facing the cobra buckle for an index-style reload.
Make it Yours
Again, regardless of his needs, your belt needs to be set up like you think you need it. Alex’s parting advice is to set it up how you think you need it and then test it at the range. Find the holes and areas for improvements and go from there.
Here’s the Video.


