If you are like me, you love firearms. Part of the enjoyment is sharing it with other like-minded people who appreciate firearms. The best way to do that is by taking pictures of firearms and posting them on social media. In this Gun/Range Photography series, I will share some tips and tricks to help you take better pictures of your guns. Since it is the year 2020, pretty much every kid, teenager, and adult has a smartphone with a built-in digital camera. So let’s start by squeezing out the potential of your smartphone to take gun photos in your home.
Clean Your Lens

One simple tip to taking better photos is having a clean lens. It seems like such a simple thing but it makes a world of difference. I use an old iPhone 7 Plus. And the case I use is a SureFire phone case. Due to its design, the dual camera lenses are exposed. This is both a good and bad thing. It is bad because it gets dirty rather easily. See the photo above. Grime, oils, and dirt constantly coat this lens. But it is super simple to wipe it clean with a corner of my shirt. assuming I have a clean shirt. See the photo below. that is after a gentle wipe of my shirt. Sometimes you may need to rub the lens a couple of times and make sure you change the direction of your wipes as well. Wipe side to side as well as up and down. Circular motions help too. There shouldn’t be any more grime when you are done.
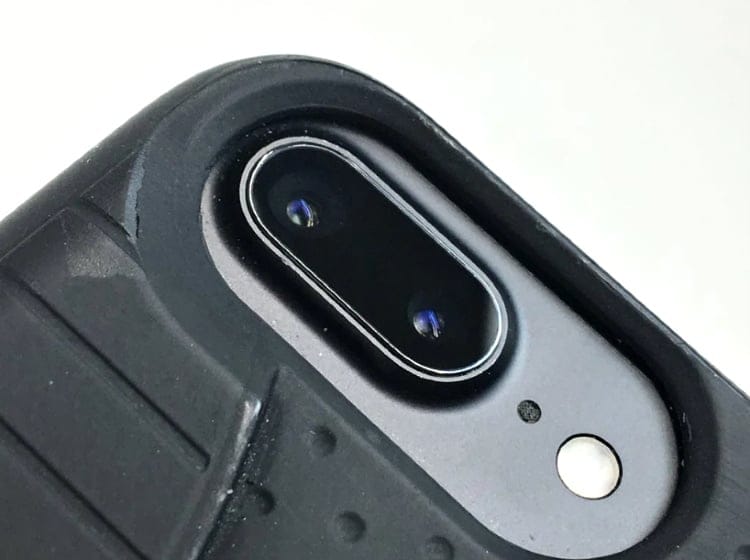
See the two pictures below. They are not great but you can see the difference between a clean lens and a dirty lens.

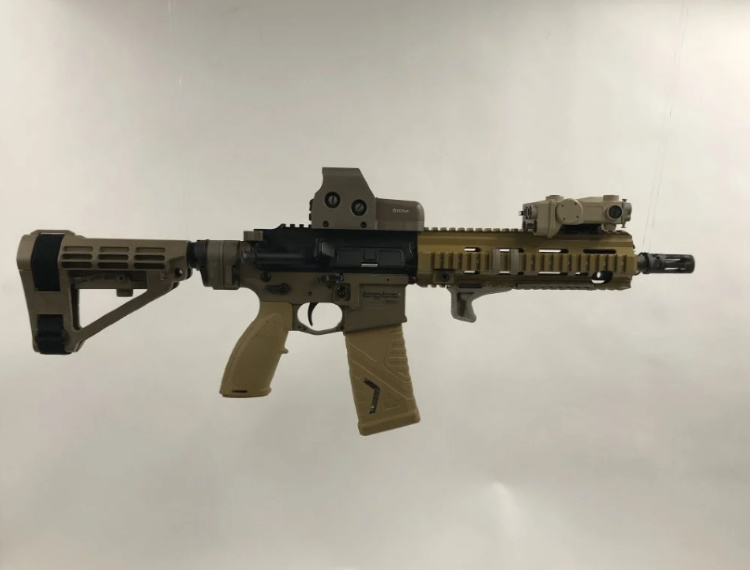
We will go into more detail about how to make the gun photo above better. But let’s continue talking about your phone and its lens. For some of you, you might have a phone case that covers the lens. You might need to remove the case if you want to take better gun photos. While those cases are great at protecting your phone, the clear window is made of some form of plastic and those can get scratched easier. Meanwhile, the factory-installed glass covering the lenses on my iPhone is super tough and has not gotten scratched no matter how many times I wipe it.
Smart Phone Camera Manual Controls
While the smartphone is mostly automatic and nowhere close to full control like a proper DSLR or mirrorless camera you do have some control of the camera in your smartphone. Focus and exposure, aka brightness, can be manipulated. I only know how to use an iPhone and have used an iPhone for more than a decade so I apologize to those of you who have an Android phone. I suspect Android phones have similar controls in the factory camera app.
With that said, you can control the focus on your phone camera. Poke the screen and the iPhone camera will focus on the area you poked on the screen. However, if you move the camera, often the camera will resort back to autofocus. If you press the screen and hold for a couple of seconds, the iPhone will go into AF/AE Lock. This is Auto Focus and Auto Exposure lock, meaning the focus and exposure is set until you click the screen again or change exposure. In the iPhone, when you lock AF/AE you can manually adjust the exposure which is actually brightness of the image. This can help you make certain details of your photo brighten up or if the image is blown out (meaning too bright) you can reduce the brightness this way.
Lighting, Lighting, Lighting
Lighting is critical to taking a better gun photo. Whatever you do, don’t use the flashlight flash on your phone. Below are three pictures that were taken with the same iPhone. In the first photo below I took a photo of my pistol 416 on the floor of my garage and used the onboard flashlight flash to illuminate the gun. You can see it creates a hot spot of light in the center and is not flattering at all.
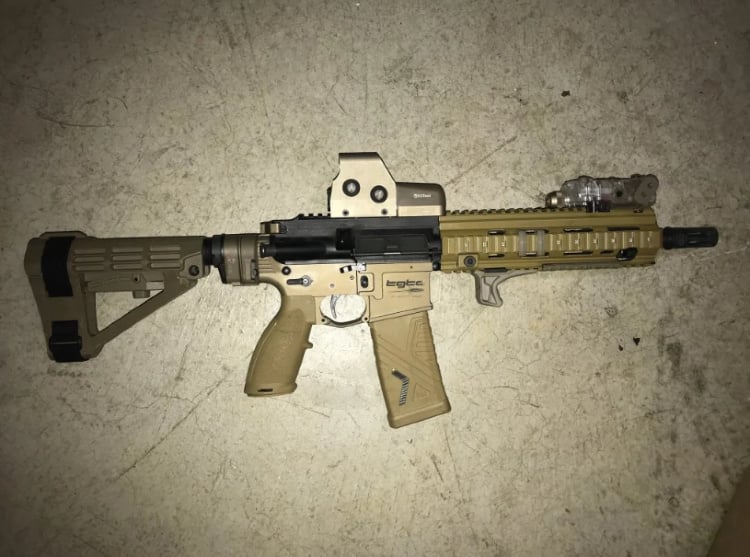
Next is the same gun in the same spot but without the camera flash. Slightly better but still not great.

Here is the same gun moved a little bit to make better use of the overhead lights as well as two soft lights being used to even the light all around the gun. Much better.

“Soft Lights” is a simple two-light setup from Amazon. It is a pair of lights on stands with a cloth reflector and softbox cover to smooth out the lighting. In my garage, I have a make-shift photo stand setup made of very inexpensive components.
Photo Stand Setup
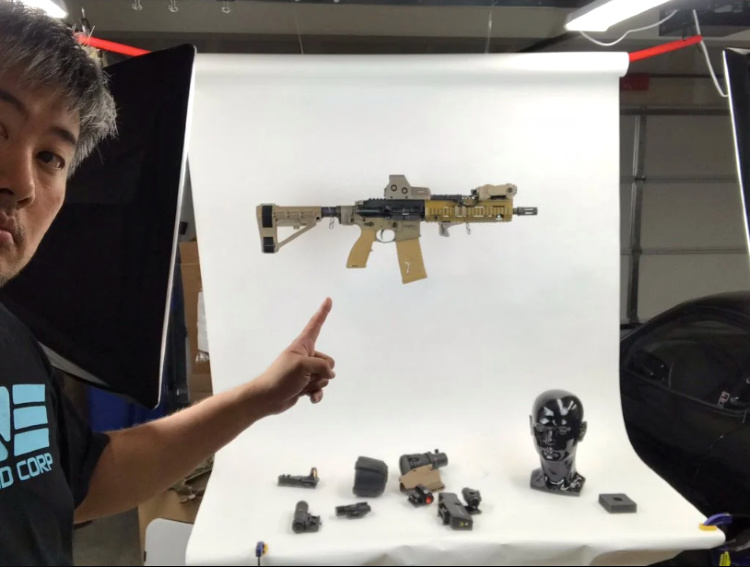
I have the two soft lights as well as LED shop lights that I picked up from Costco. Then I got a large roll of paper and hung it so the paper hangs down and curves over a folding table. As you can see in the photo above the gun is suspended by fishing string. You don’t have to do this but it is worth it if you can safely hang fishing string to hold up a gun in the air. Fishing string is thin and strong. Because it is clear, it is almost invisible to the camera.
I am also using ceiling racks that I installed onto the ceiling of my garage. While they are primarily for storage, the grid fence-like shelf is perfect for hanging the fishing string and mounting the LED shop lights. The fishing string is tied into a loop and I use a pair of carabiners to hang the loops of fishing string from the ceiling racks. I use two loops, one for the front of the gun and a second one near the back of the gun.
For heavier guns, two loops may not be enough. I twist the loop into a double loop. This helps double the strength of the fishing string and eliminates the need to try and make individual equal length loops. With two double loops, I now have for loops of fishing string holding up a gun. I have held up guns just north of 17 lbs using this technique.
When you hang a gun using fishing string, try to avoid sharp corners of the gun, like corners of a quad rail, or certain sections of an AR buffer tube. Try to position the fishing string around a curved surface therefore spreading the load across a longer section of the string.
Below are two photos that were taken with my iPhone. If I just use automatic settings in my camera the picture is not that good even though I have ok lighting and hanging the gun from the ceiling racks.

If I set the AF/AE lock and manually adjust brightness the picture is a lot better.

One of the benefits to hanging a gun is that you can get interesting angles that you do not normally see in gun photos.
Consider the Composition of Your Gun Photos
This leads a little bit into the last tip for this edition of Gun/Range Photography. Composition. Composing your image makes a big difference. Try to avoid taking a photo of your gun directly above it while it is flat on the ground. Also where you put your gun matters too. Please stop laying the gun on your bedsheet or carpet. It is very boring.
Here is an example of composition. Sure having the profile of the gun can be informative but it has been done way too much.

Change the angles a bit. Also the photo above is unedited while the one below is edited just a bit.

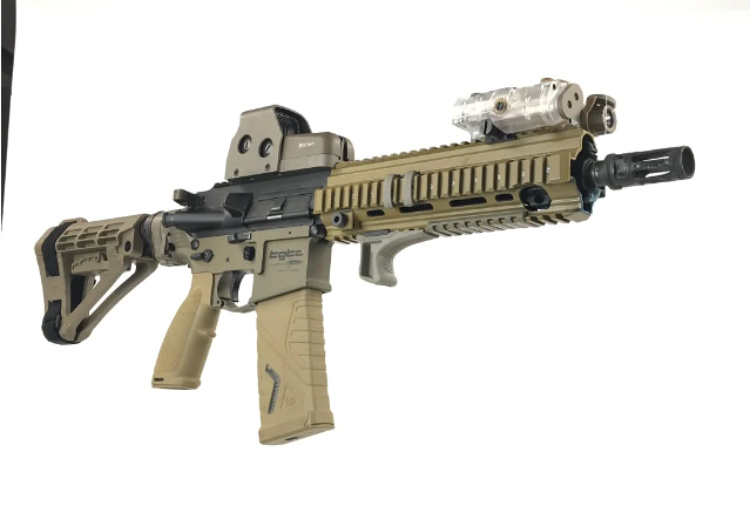
In the next edition of Gun/Range Photography, I will go into detail how you can easily edit your photos after you have taken them to make them look even better. As a parting gift, here are a couple of examples I took a while ago using all the tips mentioned here with the same lighting setup.


Pingback: Weekend Knowledge Dump- July 17, 2020 | Active Response Training()