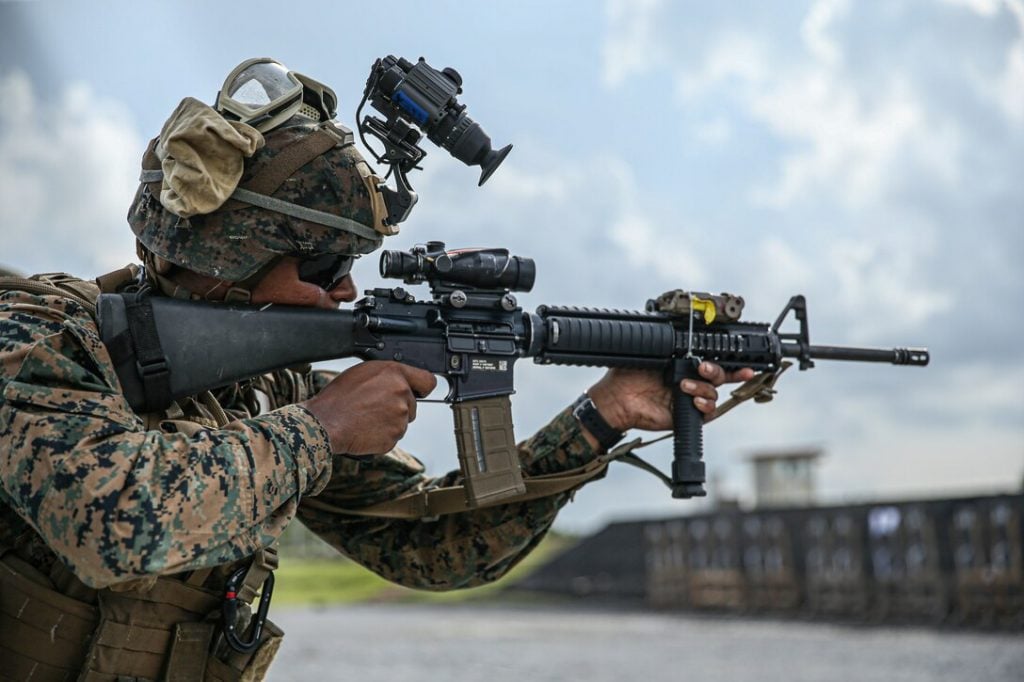
The ACOG is one of the best optics for a group of relatively young riflemen. The Marine Corps loved the ACOG. It was tough, provided magnification for those 300-meter infantry engagements, and even gave shooters a bullet drop compensator to give an instant estimation of where a shot would fall at certain ranges. For a force recently transitioning to optics, it was as good as it gets. The main problem with the ACOG was that it sucked up close, or well, seems to suck up close. That’s where occluded shooting comes in.
The fixed four-power magnification makes it tough to use at those CQB ranges. Trying to look through a 4X optic and hit targets at 10 to 20 meters is tough. So instead of just throwing lead and aiming over the optic, we can use something called occluded shooting. With occluded shooting, we aren’t looking through the optic to aim at the threat, but we are still using the optic to give ourselves a quasi-precise engagement.
What’s Occluded Shooting
Occluded shooting, interestingly enough, is partially the responsibility of the same man who ran Trijicon when the ACOG was invented, Glyn Bindon. Bindon was the man behind the importation of the Armson OEG sight from South Africa. The Armson OEG is a red dot, kind of. You can’t see through it. Instead, a fiber optic generates a red dot against a black background. However, with both eyes opened and a target focused, the red dot was imposed over the target.
This allowed for rapid target acquisition, just like a red dot. It wasn’t perfect, but for the era, it worked. Heck, the Armson OEG is still produced if you want to experience that old-school red dot greatness. As soon as Aimpoint produced the first modern red dot, they kinda faded away from the grander consciousness of the public.
However, the occluded shooting method stuck around. When Glyn Bindon and Trijicon got the ACOG up and running, the occluded shooting method got a new life. Occluded shooting does require an illuminated reticle to work, but not much else. It’s nowhere near as precise as a dedicated red dot, but with some practice, you can land shots in a 3×5 pattern with ease.
What It’s Not
I’ve mentioned Glyn Bindon a few times now, and that leads us to talk about what occluded shooting is not. It’s not the Bindon Aiming concept. It’s easy to get confused because the two methods are associated with the man, and both can be used with the ACOG and various other magnified optics with illuminated reticles.
The Bindon Aiming Concept is used with magnified optics. It’s used to track moving targets with a magnified optic and involves watching them with your nondominant eye while your dominant eye stays behind the reticle. When the target stops moving, you swap focus and use the dominant eye to take your shot.
That’s the Bindon Aiming Concept, but it’s not occluded shooting.
These days occluded shooting is typically used with magnified prism optics. Much like the ACOG, these are fixed power optics that make it tough to shoot at super close ranges. It can also be valuable for shooting with LPVOs at close range. With an LPVO, it can help you use the optic without worrying about scope shadow or proper eye relief. Additionally, if you are locked into a magnified setting and have to rapidly switch to close-range, occluded shooting can be valuable.
How do we get sharp with occluded shooting?
We have to dive in headfirst and do it. We need practice and a range that’s between seven and 20 yards. You’ll need an optic with a daylight-bright reticle. When using occluded shooting, you have to be a master of shouldering your rifle and getting it up and ready in a flash.
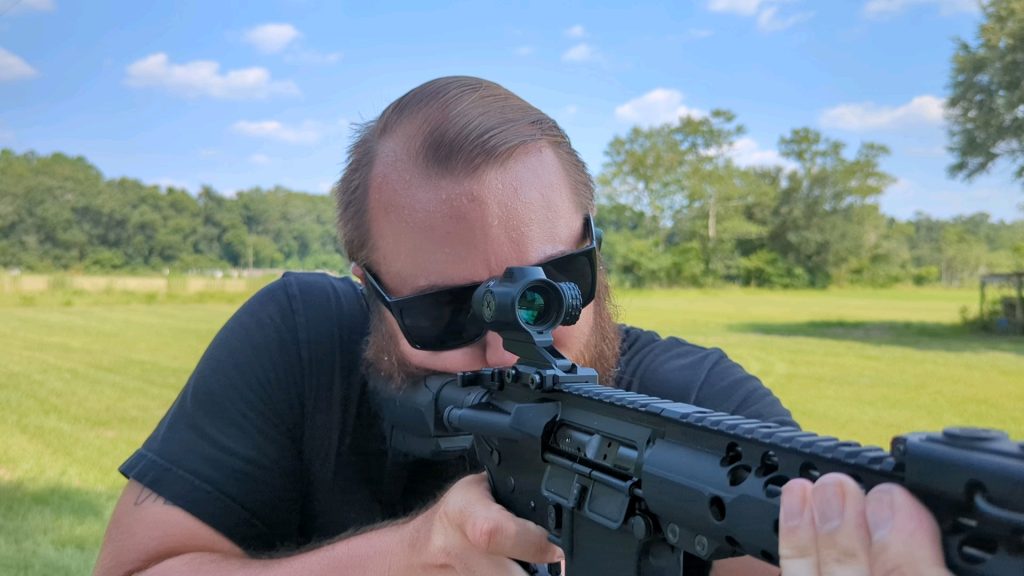
The most important thing you can do is use a target focus. Focus on the target, much like any red dot optic. As you focus on that target, get the rifle to your shoulder and the optic in front of your eye. Maintain that target focus. It’s easy to automatically switch to looking through the optic. Resist that feeling and focus on the target.

The illuminated reticle should be bright enough to be easily seen. Your brain, through the magic of binocular vision, will superimpose the reticle on the target. Fire away! Remember to aim a little high depending on the range to account for height over bore correction. That’s really all there is to it, and it’s not necessarily difficult.
It does take practice. Lots of practice.
Get Drilling
Let’s talk about the drills that will sharpen your skills with occluded shooting.
Snap Drill
The classic snap drill is a great way to practice getting the proper presentation with your rifle and optic. A snap drill is very simple; you start in the low or high ready, snap on target, and fire one round as fast as you can accurately. It’s great for learning the basics of occluded shooting and getting on target.
This is probably the best dry fire drill you can do as well. It makes it easy to get used to the target focus and quickly learn how to find the floating dot. In the Marine Corps, we did hundreds of these snap drills over and over to learn how to aim effectively at close range. I can say it’s what really instilled the skill of occluded shooting in me.
Near and Far Drill
If you want to get fancy, you can start with a near-and-far drill. Set up a small target at a decent distance, say 25 yards. I like to use a basic B8 as my small target, with the black being the only acceptable hit zone. I also have a man-sized target set up at 10 yards. Practice engaging the far target with three well-placed rounds and then rapidly transitioning from the small target to the man-sized target and firing three rounds using an occluded shooting method. This forces you to transition to the occluded shooting method and do so quickly.
Failure to Stop Drill
Once you’ve dialed in your ability to rapidly assume an occluded shooting style, we will move to a more combat-oriented drill and one of my favorites. We’ll fire a failure-to-stop drill at close range using the occluded shooting method. A failure to stop drill is famously two shots to the chest and one well-aimed shot to the head.

If you can do successful snap drills, you can then rapidly transition from one part of the target to another. The Failure to Stop drill is a great way to practice rapid shooting, control, and accuracy with occluded shooting.
Deck of Cards
Occluded shooting isn’t the most precise means of hitting your target. Although, with that in mind, it can be precise enough to get work done. To practice narrowing in that precision, set up a half dozen 3×5 cards onto a cardboard backer. Assume a stance at 10 yards, and on the beep of a shot timer, place two shots into each card. This will work with transitions and precision.
Seeing Red
Occluded shooting is a bit of a lost art. With tag-along red dots and LPVOs with massive eye boxes and long eye relief in the mix, there isn’t as much need for it anymore. Still, if you are like me and you like prism sights, the occluded shooting technique shouldn’t be forgotten. It’s just one more skill to put into your toolbox.
