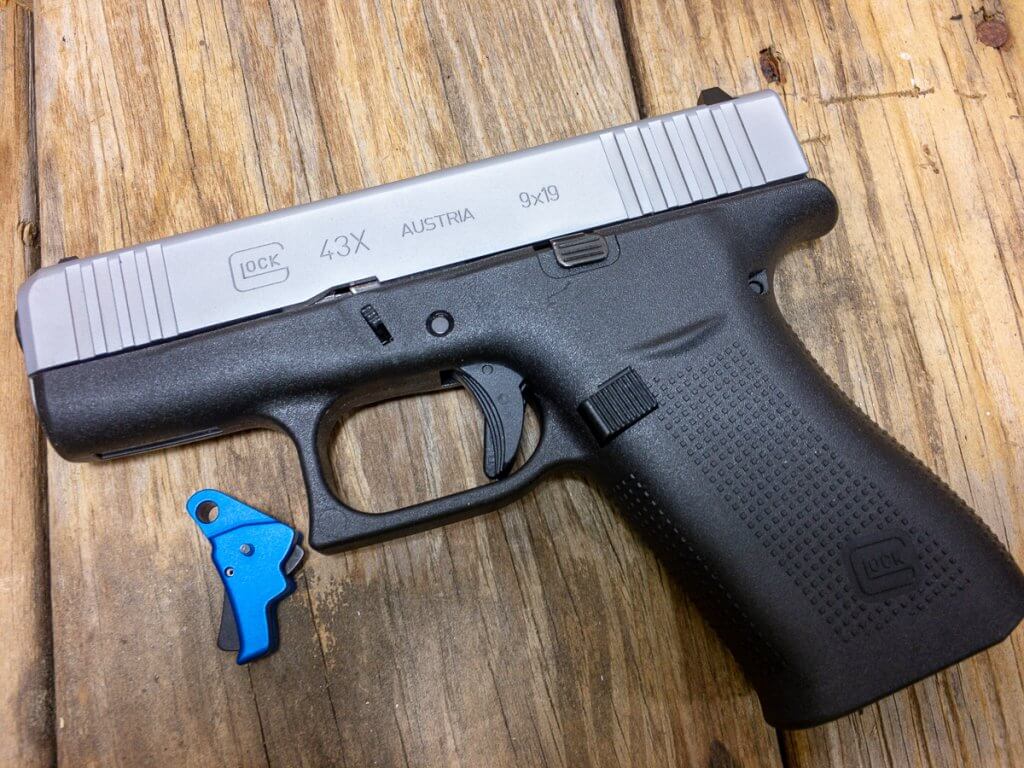
I’ve been tinkering with a new pair of Glocks – the Slimline 43X and 48 models. They’re identical except for slide and barrel length. Yes, they share the exact same 10-round magazine too. If you haven’t checked them out yet, take a look. I’m not at all a Glock Fanboi but I have to admit I really like these perfectly proportioned pistols. They’re just the right size for easy carry, pack 10+1, and are soft and easy to shoot. What’s not to like? Some say the Glock Trigger could be better.

Even the trigger is OK, but I’m a trigger snob, so I’m up for the possibility of improvement over the factory model. I’m going to replace the factory trigger with an Apex Action Enhancement Blue Trigger kit. This is just the trigger. No transfer bars, interior guts, sears, or transmissions involved. According to the Apex folks, this operation alone will get rid of some of the rough feel in the take-up stage and the reset travel. The new trigger will also reduce the distance that the trigger travels, thereby offering more control and less opportunity to torque the gun during the trigger press and yank it off target.
Apex’s Glock Trigger
According to the Apex folks, there’s a lot more to quality trigger enhancement than just reducing weight. Because physics and laws of inertia, you also need to consider the duration of time that force is applied to the trigger and indirectly, the frame of your gun. A trigger that operates with less travel and less time exposure to torque forces can be easier to control. That leads to improved accuracy results on target.

Installation
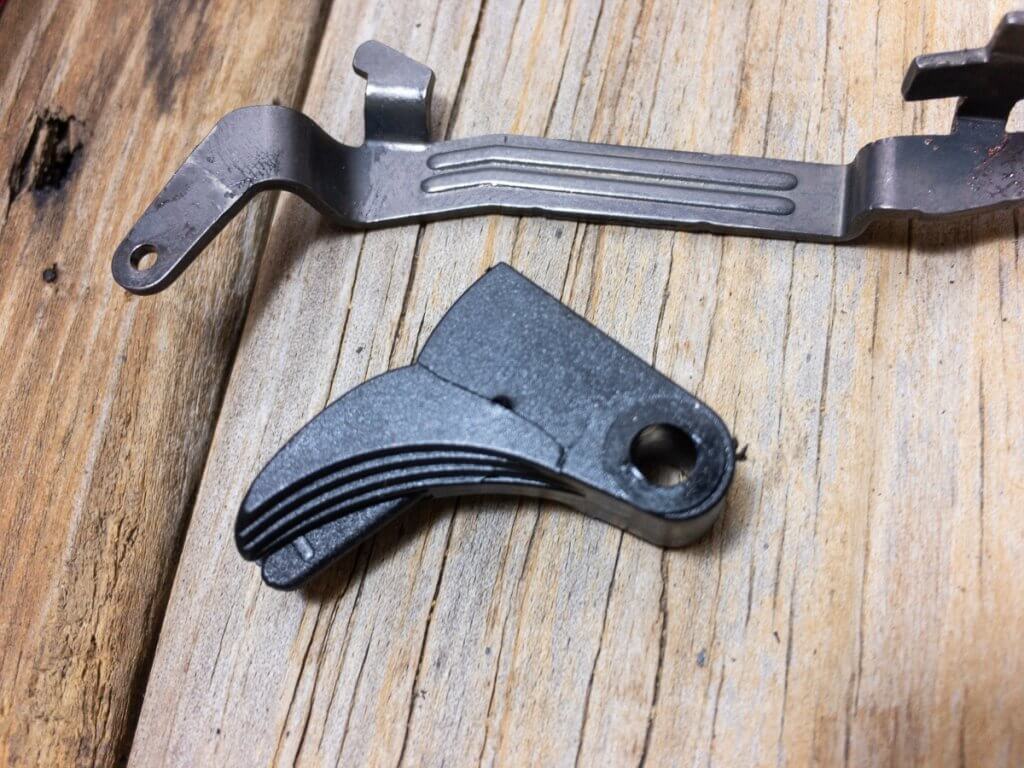
The installation process is straightforward, requiring nothing more than a Glock punch pin and a vise. Be aware that you will destroy your existing Glock factory trigger face in the process. The way that the trigger is mounted to the transfer bar does not permit removal of the trigger without breaking the plastic trigger body. Don’t say I didn’t warn you in advance!

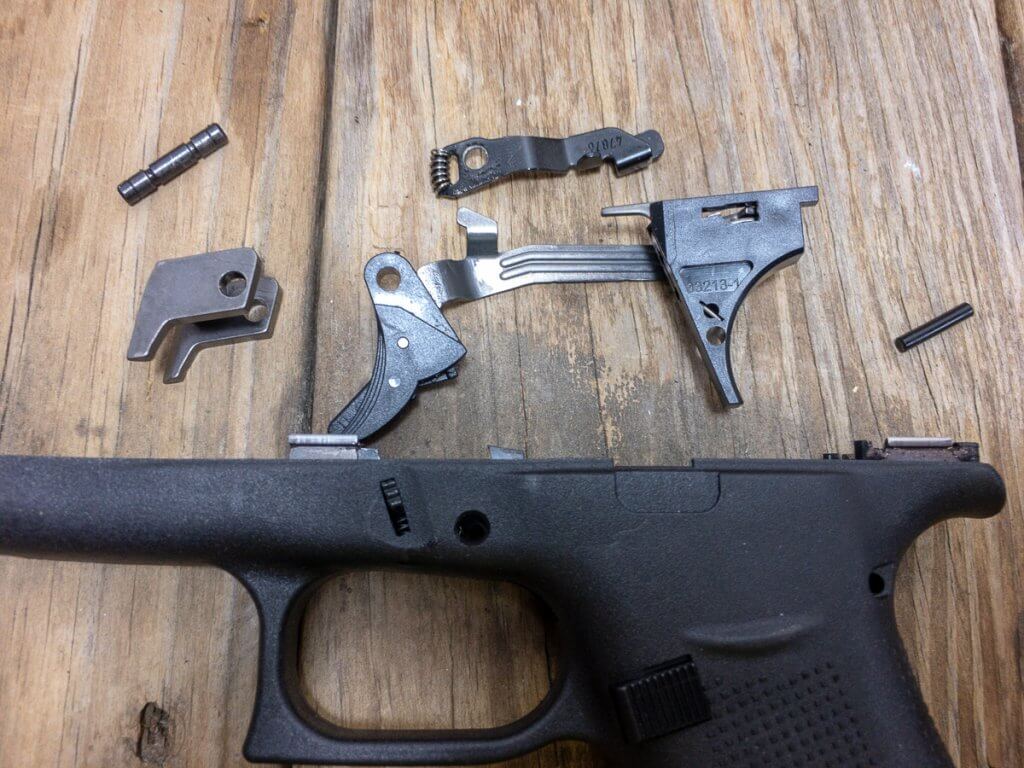
After emptying and field stripping your pistol, remove the trigger pin by pushing if through the frame from left side to right. As I found out on the Glock 43X (and Glock 48) you’ll need to juggle and press on the slide lock lever to move the pin. Don’t hammer! If the pin isn’t moving, keep applying pressure to the front of the slide lock lever forward of the locking block until the pin moves with hand pressure only. It’s easier if you also remove the rear trigger housing pin so you can pull the whole trigger assembly out in one piece. On most Glocks, there’s also a separate locking block pin, but the 43X shown here only uses the trigger pin for that and the locking block.

Once you remove the trigger and trigger bar, you have to knock out the small pin that connect the two. You’ll notice that the pin is only visible on the left side. When you push it through, it will pop right through the plastic on the right side – that’s the destructive part of this process.
The Apex Trigger has a pin partially inserted to connect the trigger to the trigger bar. When you line up the trigger bar in the new trigger, make sure the pin is lined up with the small hole in the trigger bar itself. Here’s where the vise comes in handy. Rather than hammering, you’ll get better results using a vise to gently and slowly press the new pin through the trigger bar and into place. It should be flush on both sides of the trigger when you’re done.
That’s it. Now just reassemble the pistol and you’re ready to test.
Before
The trigger on the Glock 43X shown here isn’t bad at all. It has an actual pull weight of 5 ½ pounds. It starts with ¼-inch of travel with about two pounds of pull weight. The take-up isn’t particularly smooth, but I wouldn’t describe it as gritty either. There’s a bit of stacking towards the end of the take-up travel. That’s followed by 3/16 of an inch of constant weight pull until it breaks. The trigger resets at 5/16 on an inch.

After
The pull weight is still 5 ½ pounds, as designed. After all, we changed nothing but the trigger face itself. However, the travel has been greatly reduced and smoothed out. The take-up is noticeably smoother and only travels about 1/8th of an inch before the weight begins. The next stage is just a hair over 1/8th of an inch too, so total travel is just a breath over ¼ of an inch. The reset is a hair less than ¼ of an inch and is very clear both audibly and by feel.
This is a nice upgrade and worth the expense and installation time, especially if you appreciate a quality trigger. Of course, if you want big changes, you’ll replace more than just the trigger body itself. You can order other kits and components including the connector, trigger bar, and safety plunger to take your trigger quality from stock to premium, but that’s another story.


