If you want the perfect combination of affordability and quality, Walker’s Razor Slim earmuffs are worth checking out. But finding ear protection for a combat helmet that doesn’t require a second mortgage isn’t easy. There just aren’t a lot of low-cost options out there that also promise quality. An Ops-Core headset, which is the best of the best, costs well over $1,000. Many of us want something that works with a helmet that won’t break the bank. I got tired of searching and decided to modify my Walker’s Razor Slim earmuffs to work with my combat helmet.
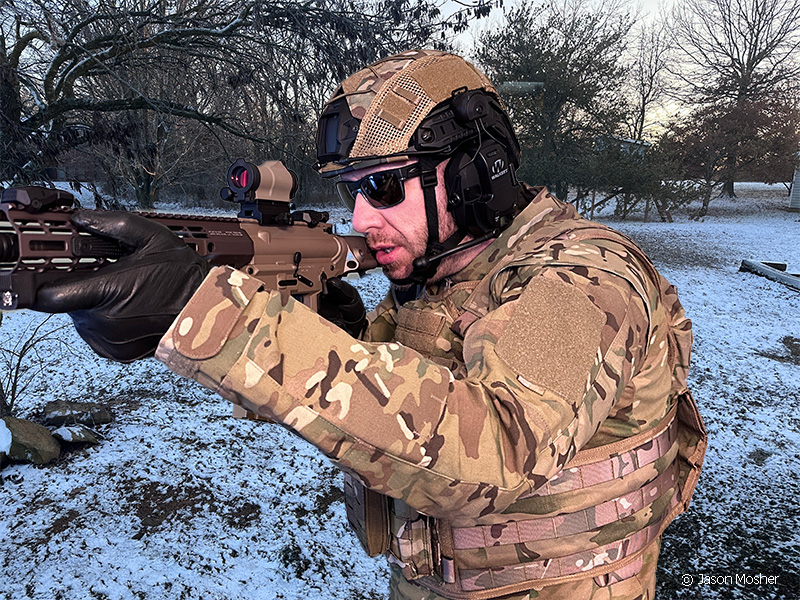
So, my thought was, “Why pay several hundred dollars for a headset for my helmet when I could use a pair of Walker’s Razor Slim earmuffs?” The only problem is Walker’s doesn’t make a headset that works with the ARC rail on a helmet. I used a pair of 3M Peltor ARC adaptors and made my own using a pair of earmuffs I already have. It was relatively easy, and definitely more affordable than any other system I could have found.
Let’s break it down.
ARC Rail attachments
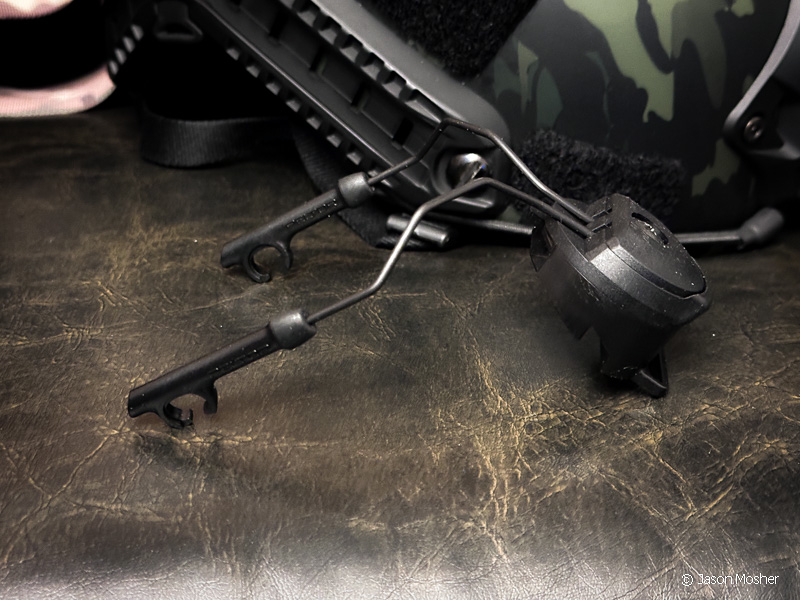
If you have a high-cut helmet, it’s nice to have earmuffs attached to it. This is the most comfortable and convenient method for wearing both while shooting firearms. There are several cheaper ARC rail attachments on the market (under $20), but they don’t hold up well. I would recommend using 3M Peltor ARC rail attachments for converting your existing earmuffs to work with a rail. These normally run about $45 and work with most headset wire mounts (see photo below).
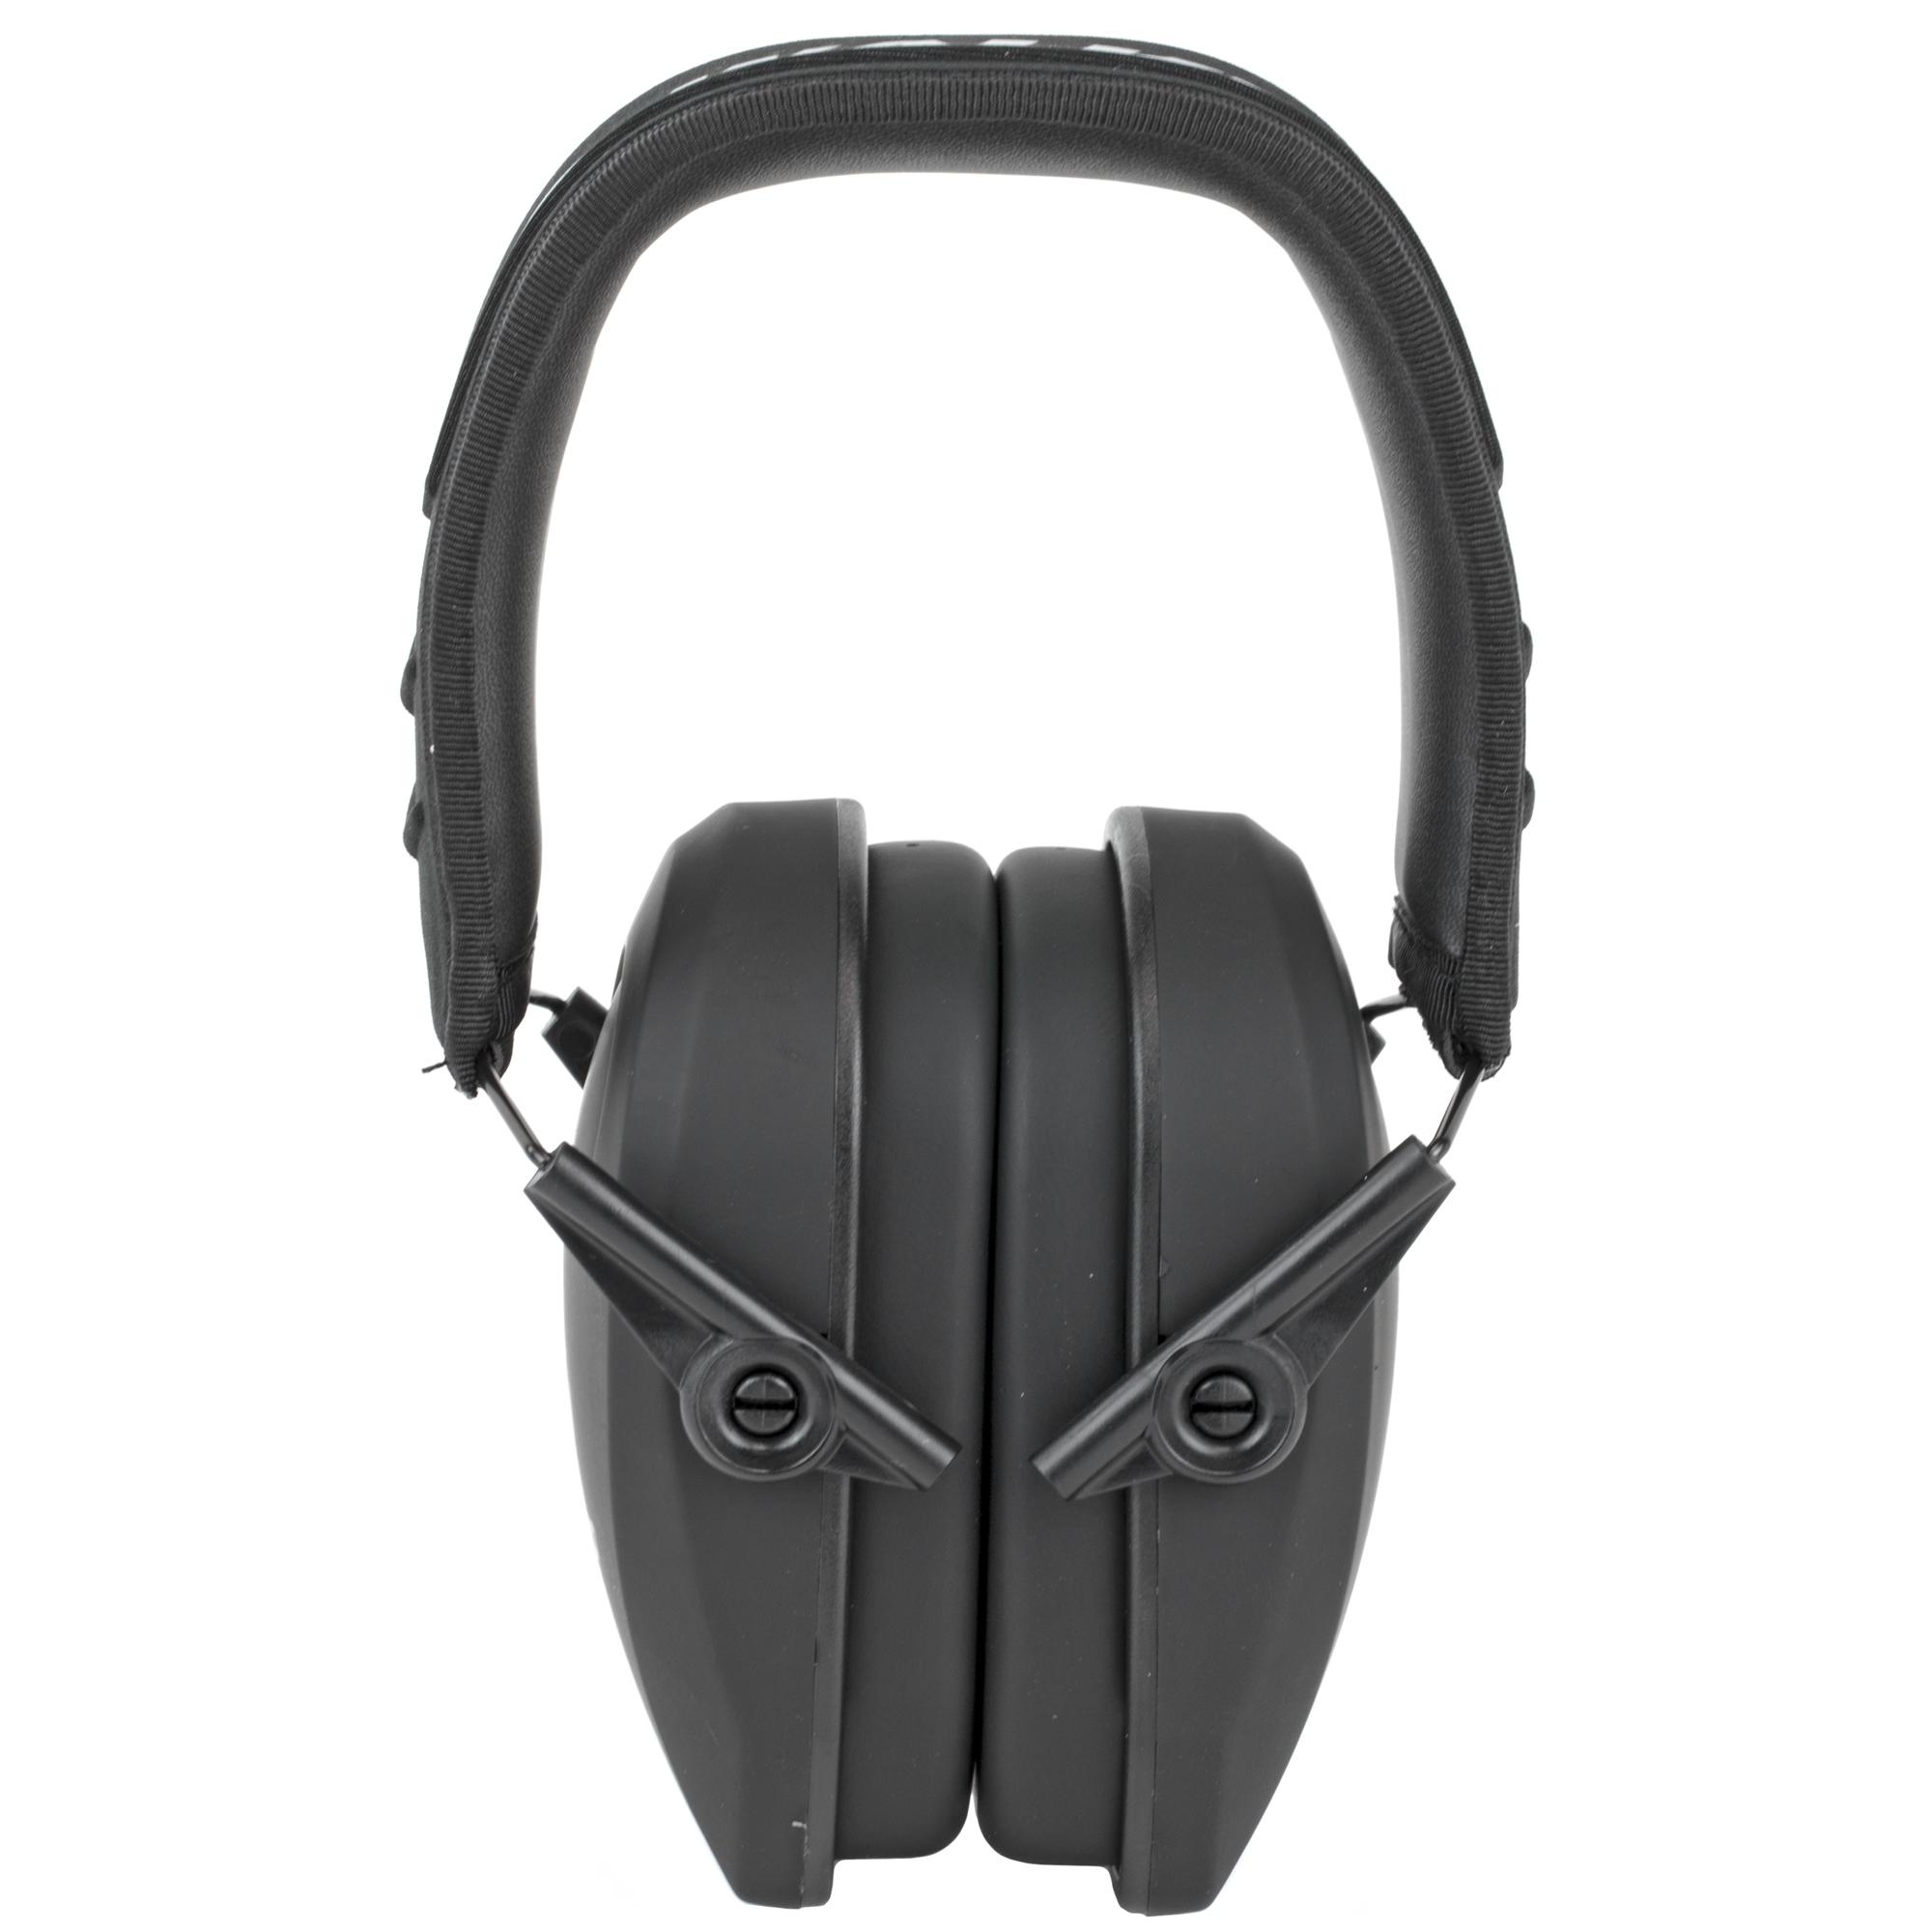
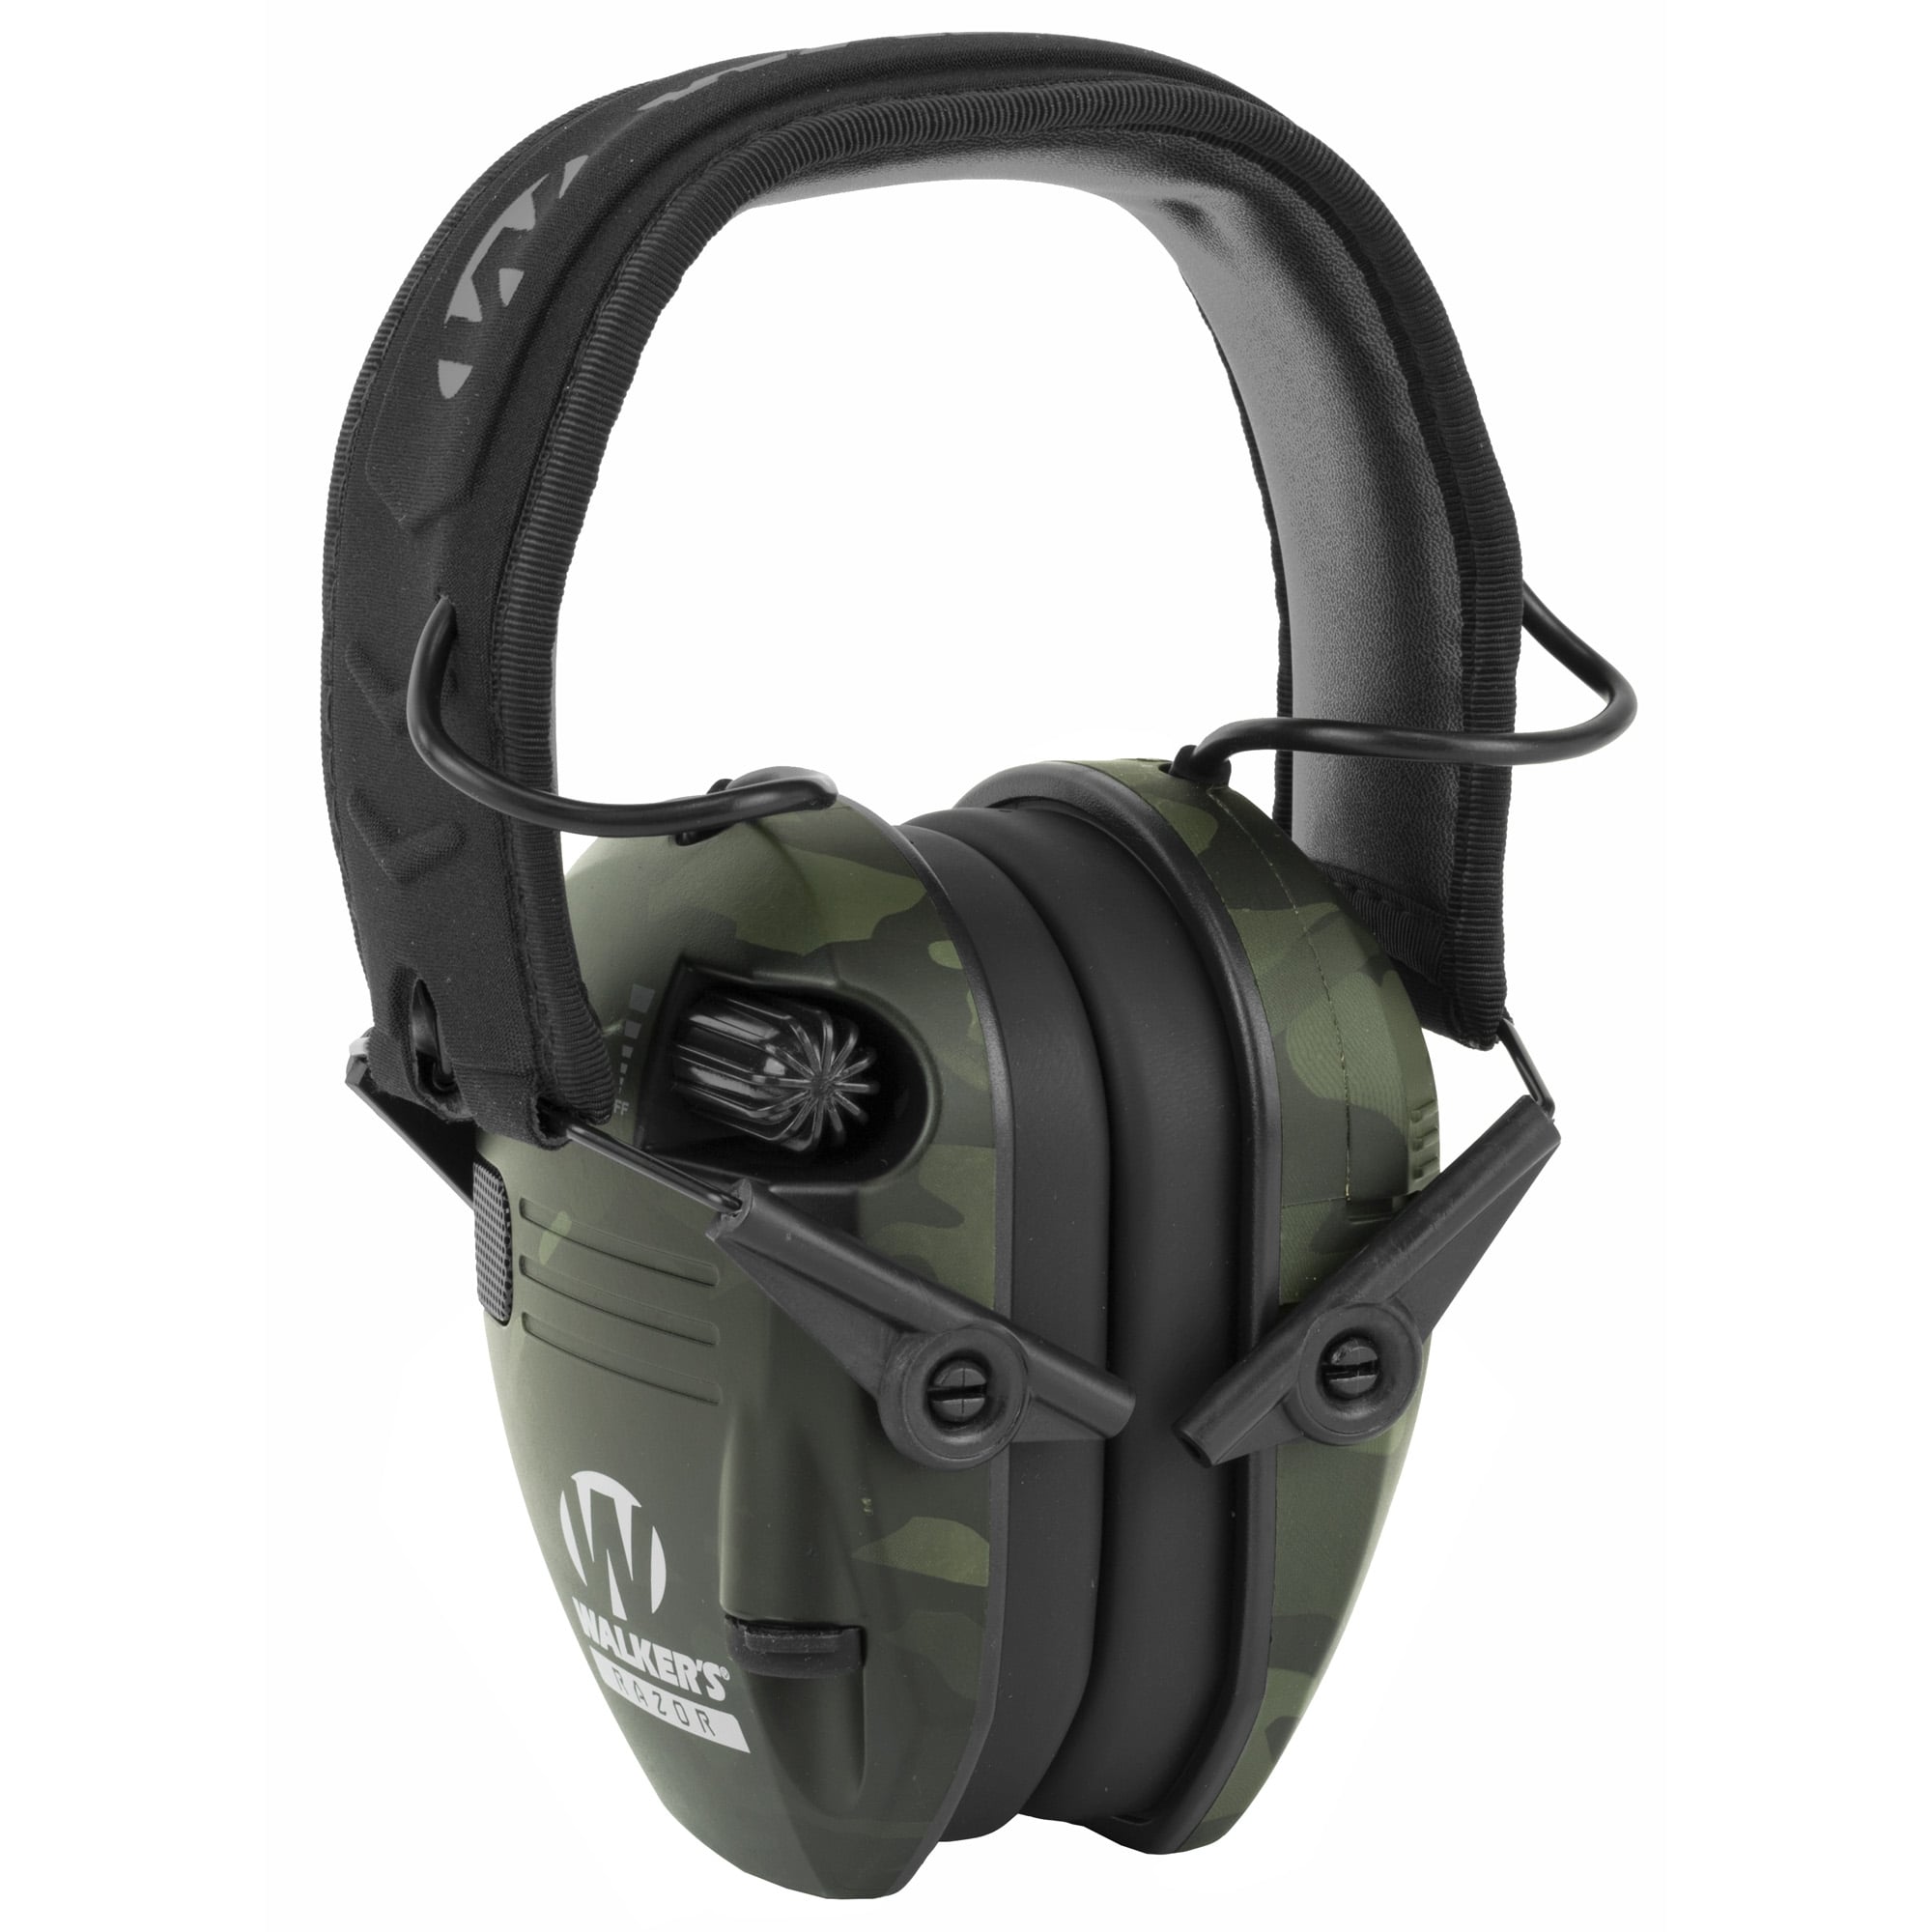
Walker’s Razor Slim Electronic Earmuffs
For the price, it’s hard to beat Walker’s Razor Slim electronic earmuffs. The built-in microphones make me feel like I have superhuman hearing, and the noise cancellation works great. I’ve used them for shooting, mowing, working in the wood shop, and other high-noise applications. Another thing that stands out with these is how comfortable they are. You can wear them all day without hurting your ears, and the batteries last a while, too.
I have a full review in another article on these earmuffs and the Razor Walkie-Talkie attachment that works with them. If you haven’t used these together before, it’s worth checking out. The walkie-talkie clips to the side of the Razor earmuffs and allows multiple people to enjoy hands-free communication with one another. They don’t have the longest range compared to stand-alone radios, but they are simple to use. Perfect for hunting, range days, and other applications, they are nice because there is no wire or radio to hold on your vest.
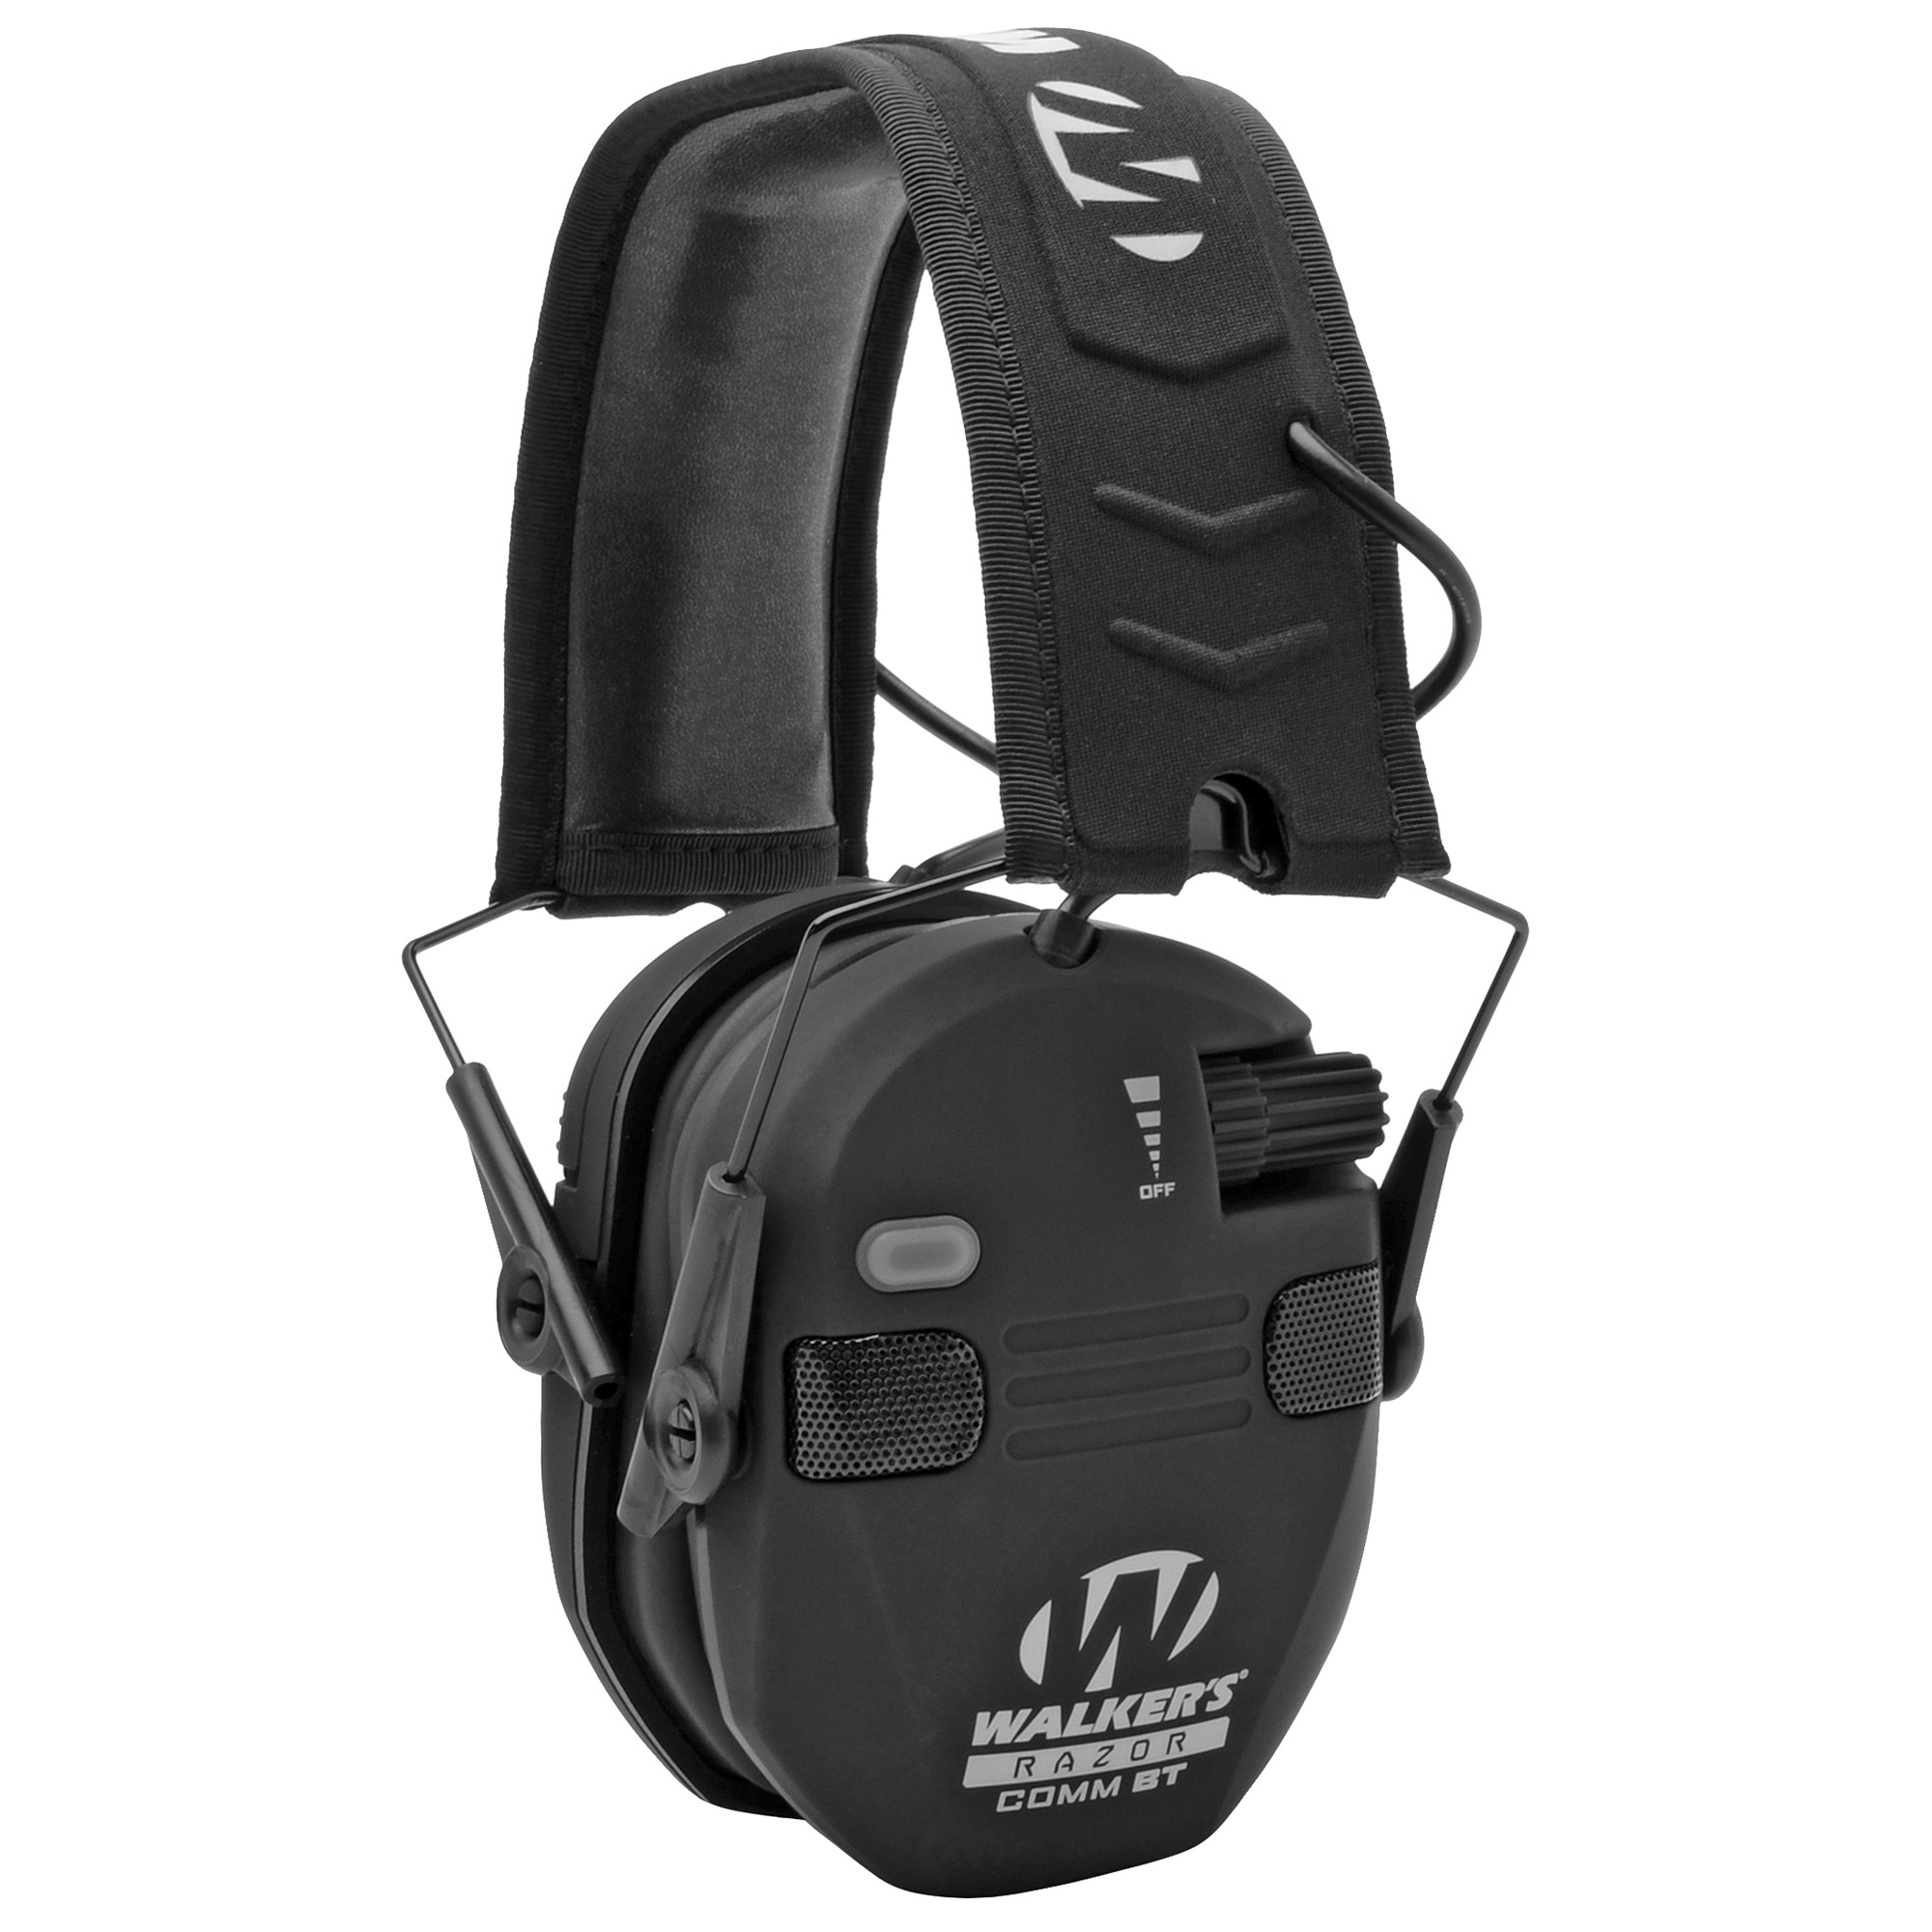
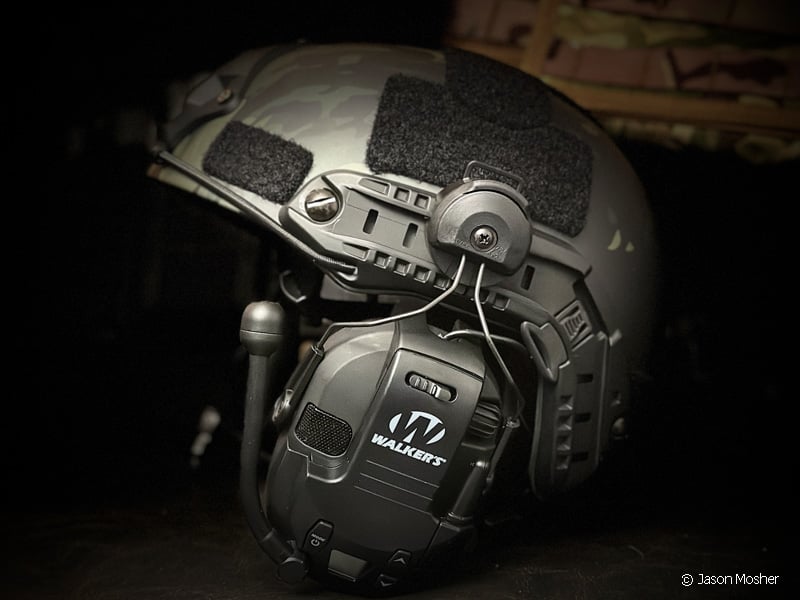
Turning Your Walker’s Razor Earmuffs Into An ACR Mounting Headset
Unfortunately, you’ll have to cut open your Walker’s headset to get the wire out of it, so there is no going back once you start. But like I said, I had an extra $45 pair in my garage, so it was a cost-saving method for me. If you want to try this method, here’s what I did with mine:
First, pull the wire brackets out of the earmuffs. These are extendable, but once they’re extended all the way, give them a pull, and they will pop out. That’s the easy part.
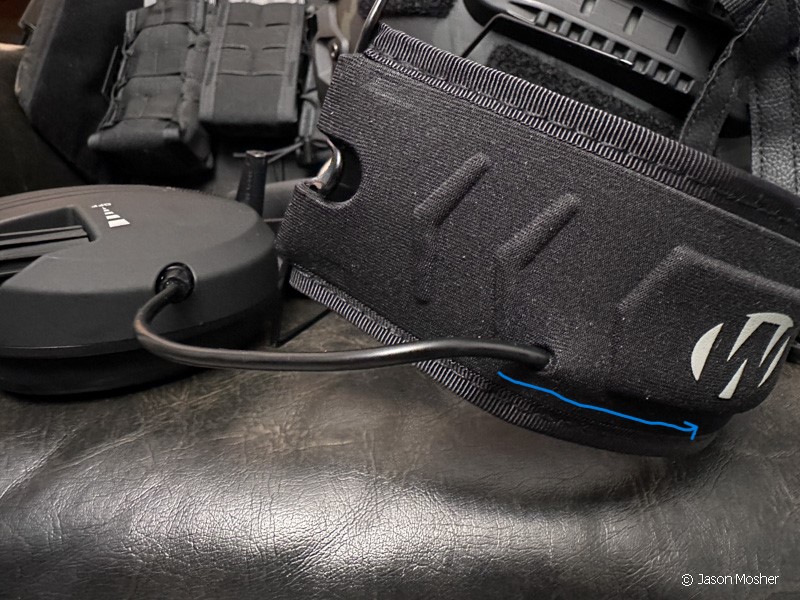
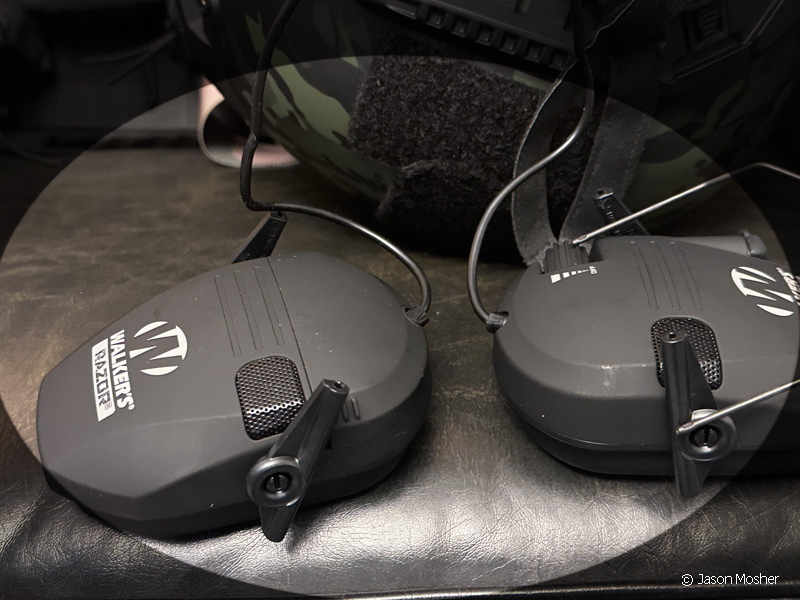
The Peltor ARC adaptors have earmuff brackets already on them. I pulled these off so I could insert the metal prongs into the bracket on the Walker’s ear muffs. It’s also easier to attach the Peltor brackets to your helmet before attaching the earmuffs to the bracket. Once they are on, run the wire behind the harness on the back of the helmet to keep it out of the way. Attaching the adaptors to the ARC rail can be a little tough sometimes, but once you have it in the right place, it will stay put.
Affordable Project
If you want to add a radio, the Walker’s Razor walkie-talkie I mentioned above will still work great. It allows you to keep a helmet ready to go with hearing protection and a radio independent of a portable radio and wire. The walkie-talkie plugs into the Walker’s headset when you clip it on. You do have to put batteries in the headset and radio separately, but I’ve used both for a full range day in the past with no issues.
If you purchase everything for this project, you can make your own headset for about $130. And that includes a short-range walkie-talkie. Pick up a pair of Walker’s Razor Slim earmuffs, Razor walkie-talkie, and Peltor ARC adaptors and put them together. The radio won’t come close to competing with a higher-end portable like Motorola or some other brands, but it works great for short-range use.