The trigger pull gauge may seem like another tool that just sits on your workbench and gathers dust, but it is actually a very useful tool in finding out if there are issues with your firearm. It also serves the purpose of finding your preferred weight of the trigger on pistols and rifles, thus leading to smarter purchases.
Why do we need a trigger pull gauge?
The Military
The most important reason to know a trigger pull weight is to know if the firearm is functioning and if it is safe. For instance, in the Army, most firearms are inspected annually. This means that every year each firearm in the vault has its gauging performed by Small Arms Repairers: headspace, firing pin protrusion, firing pin hole, visual inspections, and yes, the trigger pull gauge.
The Army Technical Manual has a minimum and maximum weight for each firearm. The minimum is for safety reasons. These are duty guns and too light of a trigger can allow for accidental/negligent discharges. If a trigger is too heavy, the firearm can have issues actually firing. If caught, the firearm may need a new trigger or some extra inspection as there could be something caught inside the firing control group. Either way, not good.
For a specific example, below are the minimum and maximum weights listed in the Army Technical Manual for M16/M4 Variants:
- Trigger pull (M16A2, M16A4, & M4): 5.5 to 9.5 lb (2.49 to 4.31 kg)
- Trigger pull (M16A3 & M4A1): 5.5 to 8.5 lb (2.49 to 3.86 kg)
Any firearm that falls outside of this range will get written up and further inspected.
Gunsmith Tip: A little drop of lube can go a long way. If an M4A1 shows a heavy trigger pull weight, we will first drop some lube on the mating surfaces of the trigger group. This often fixes the issue and has brought the weight down as much as 2lbs in some instances which leads to a much easier and crisp trigger press.
Hunting/Duty/Competition Use
Other reasons for wanting to know the preferred weight and actual weight of a firearm are for different uses. Most duty guns such as police pistols will vary within the 5lb-6lb range. This is for the same reason as mentioned before—perceived safety. Remember the NYPD 12 lb trigger? Same concept, just way overboard and unsafe. I digress.
Hunting rifles often call for the same thing. This is a rifle you will be throwing over your shoulder, climbing into a stand with, or laying down in thick grass, either way, a 1lb trigger in your hunting rifle isn’t usually the most realistic trigger weight when in that environment. Competition, on the other hand, is where light trigger weights shine, getting to as low as 6oz. on a professional competition .22 rifle. These need to be light and most are specific to what the shooter likes.
As for civilian-owned firearms and maintenance, if a shooter who knows their firearm starts to feel as if their trigger is much lighter than normal, or on the flip side much heavier, a quick check with the trigger pull gauge can immediately diagnose if there is a change within the firearm. If there is, there could be a larger issue such as worn sear/disconnect springs or even a broken trip on a disconnect.
Instead of sending it to the manufacturer and having to wait, the diagnosis can be done at home with the gauge and you’ll know more about the issue if it does need to be sent in.
Different Types of Trigger Pull Gauges
Trigger pull gauges have come a long way, originally using only weights to now being fully electronic.
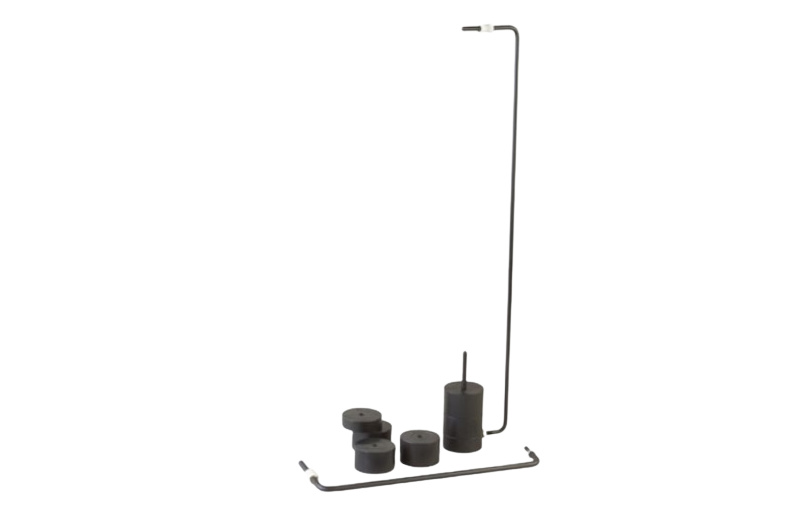
Trigger Weight System
Minimum and maximum weights on triggers often need to be known when it comes to competition matches. The NRA Official Weight System is a scalable method using a hook and weights.
The weights are put on the rod and the rod is hung on the trigger using the weight to cause the trigger to break. The minimum weight is put onto the rod, if the trigger breaks, it is too light. If it doesn’t break, rule dependent, that gun can be used within the match. If the maximum weight of the trigger is put onto the rod and the trigger doesn’t break, that means that that trigger is too heavy and needs to be looked at or adjusted. While it is an old method and time-consuming due to having to put weights on and off, it is needed and used to this day.
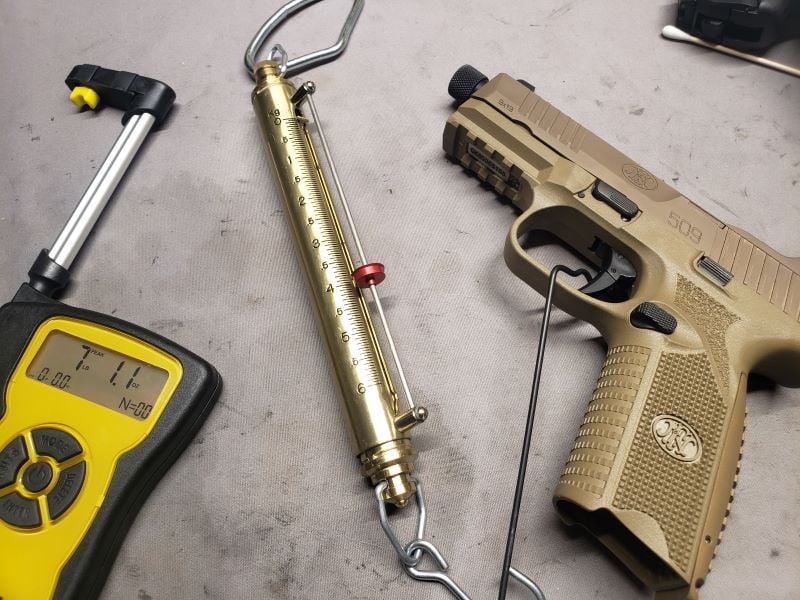
Scale
An example of this is the Wheeler Trigger Pull Scale. This tool is a hook inside a body that has a spring in it. As the trigger is placed onto the hook, kind of like the weight system, this tool will stretch and the increment bar will move. Once the trigger breaks, the bar on the tool will stay in place showing the weight of the trigger. It is cheaper than an electronic trigger gauge, however, this specific scale gauge only goes to 8lbs max. Many digital trigger gauges and even the old-school weight system read up to a higher weight.
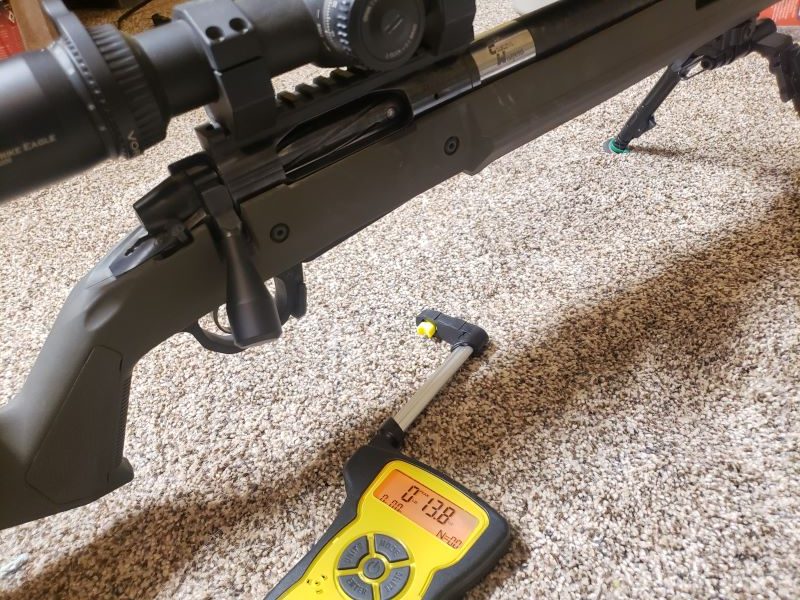
Digital
The better-known digital/electronic trigger pull gauge takes each trigger break weight and, dependent on the gauge, will often show the average of multiple pulls. It is easy to use, quick, and often reads up to 12 lbs. Examples of digital trigger gauges are the Wheeler Professional Digital Trigger Gauge and the Lyman Electronic Digital Trigger Pull Gauge.
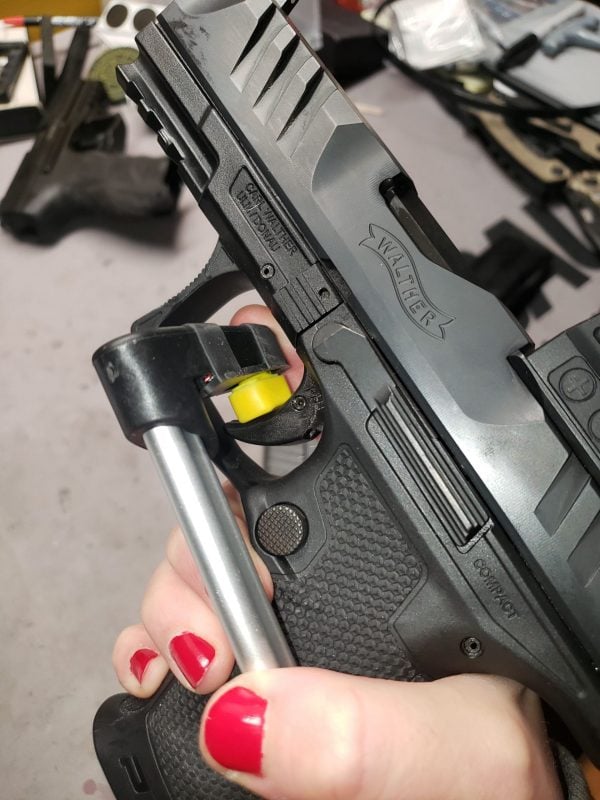
How to Properly Use a Digital Trigger Gauge
Good technique is necessary to get proper readings when it comes to digital trigger pull gauges. Even press and consistency is the name of the game. You want to get a normal and straight press to the rear on the middle to bottom of the trigger shoe, just as you would with your trigger finger. There are a couple of different ways to do this depending on the type of sensor you have on your gauge.
For instance, the Lyman Electronic Gauge has a rolling sensor on the arm. This allows you to roll down the trigger to the bottom of the trigger and press to the rear as you roll down it, hopefully breaking as you get to that perfect spot on the trigger. The Wheeler instructions provide a technique that has changed my mind to the point that now I like the Wheeler Gauge and technique more. Follow the technique below for a constant and accurate trigger pull every time with the Wheeler Gauge.
- Ensure that the arm and gauge are at a 45° and straight to the rear when set on the trigger, providing a pull straight back.
- Ensure that the sensor is even on the trigger and at the correct position on the trigger (middle to bottom). A reading on a pull that is pressing on the top of the trigger shoe will not be an accurate reading and will often show much heavier than it normally would be.
- Place your trigger finger on the sensor, so it will show finger, sensor, then trigger.
- Press straight to the rear not stopping until the shot breaks, don’t stop mid-press.
- Press enter on the gauge to save if it was a good reading, and press delete to void the reading.