There are go-bags, get-home bags, and every other kind of bag you care to read about. So, what kind of bag do you need? It all depends on where you live and your plan for an emergency. For the sake of simplicity, we will just call them our emergency preparedness bags or “EPB.” This bag can assist you in fleeing the home during an emergency, getting back to your home, or just having some quick access items ready at your home during an emergency. If you really get into preparedness, you may even want to have multiple bags set up for different purposes.

The Purpose of Your Bag
The first step in putting together your EPB is to identify the purpose of your bag and what you want to accomplish with it. One major factor that will need to be considered is where you live. Is this bag for fleeing into a national forest or isolated area and surviving during an emergency? Or do you live in a populated area with little to no wooded or remote places to flee to? Surviving for some may be learning to live in an urban area other than your own home. Or the purpose may be to stay ready to get home should you be stranded during an emergency.
I keep multiple bags set up for different needs based on where I live. My bug-out bag has a lot of survival gear in it that is designed to help me live away from my home. This could be the woods, abandoned buildings, etc. My get-home bag is designed to help me make it home should I be miles from my residence when a disaster or emergency occurs. The second bag is a little lighter and made for traveling more, while the bug-out bag is more for getting somewhere else and staying there for a while. Because of this, it is heavier and has more gear in it. Everyone’s bag will be different, and you have to find what works for you based on the environment in which you live.
Regardless of the type of EPB you decide to set up, here are some helpful items you may want to include in any type of bag:
First Aid Kit
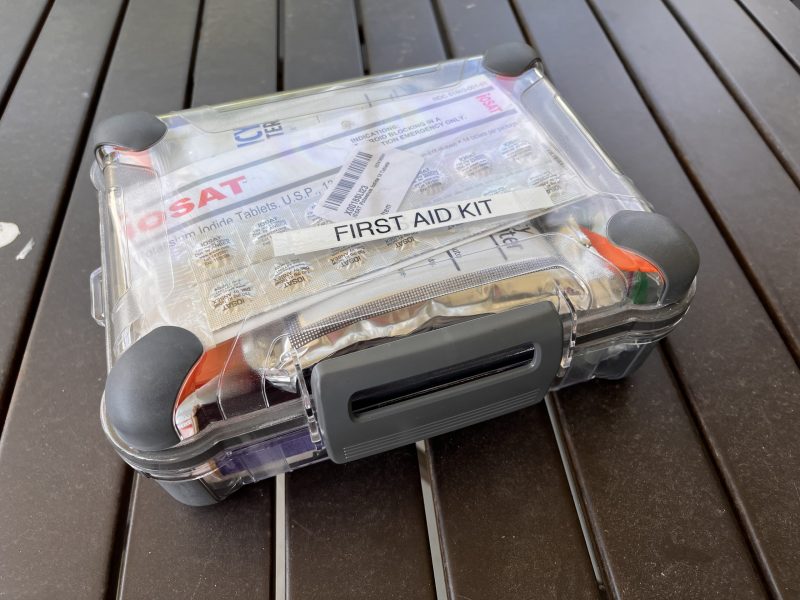
A first-aid kit is something that should be in your car already, but I added one to each bag regardless. If there is an emergency, I want to know that any bag I grab will have a first aid kit. I place the contents of a basic first-aid kit into a larger waterproof container and add additional items that may not be found in a basic kit. Waterproof containers can help protect the contents but are also handy for other purposes.
Inside my med-kit, I keep:
- Basic first-aid items (from any stocked first-aid kit)
- Two water packs (these have a long shelve life and take up little room)
- Rope
- Matches
- Fire fuel tablets
- Hand sanitizer
- Survival blanket
- Pen and paper
- Water purifying tablets
- Iodine tablets (for radiation exposure)
- Small knife
I know some of these items are not what you would normally find in a first-aid kit, but I also want to be able to grab one container in a worst-case scenario when taking the whole backpack is not an option.
This would give me a few basic items to help me survive. I guess you would call it the emergency kit inside the emergency bag.
Food
The amount of food in each bag depends on the bag’s purpose. I don’t keep as much food in my get-home bag as I do my bug-out bag. I keep several packs of instant oatmeal for my get-home bag, one water pouch, a small pre-cooked MRE with beef, napkins, a spoon, and a straw. It won’t get you fat, but it can keep you going until you get home.
For my bug-out bag, I keep more MREs, some canned meats, and some basic cooking items for the ability to cook foods for longer survival times away from home. I also keep 5-gallon buckets with food items that work great for storage at home but also double as a quick way to throw some food in the vehicle and leave. MREs can be found online, or companies like Augason Farms also make some great food items for long-term storage in #10 cans.
Water

Water is one of the most essential items, in my opinion, to keep in any type of bag. I like using Augason Farms water pouches because they are sealed with a 5-year shelf life and do not take up much room. I keep them in my medical kit, food kit, and additional packets in a container in each bag. Each pouch holds 4.2 oz of water, so you must decide how much water you want to carry vs. its weight. A straw filter or compact water filtration system may work better if you live near many natural water sources. If you do not, keeping more water on you may be the better option.
Misc. Items
Along with the plastic container kits, other items in all my bags include:
- Duct Tape (google things I can do with duct tape)
- Additional water (in a zip-lock bag)
- Toothbrush, toothpaste, deodorant, a bar of soap (in a zip-lock bag)
- Knife
- Tourniquet
- Handgun with three extra mags
- Gloves
- Water Filtration Straw
- Israeli Bandage
- Tarp
- $50 in small bills and some quarters
- An emergency weather radio (hand crank)
- Emergency flashlight (hand crank)
- Flashlight with batteries (you can’t have too many flashlights)
Selecting the Bag
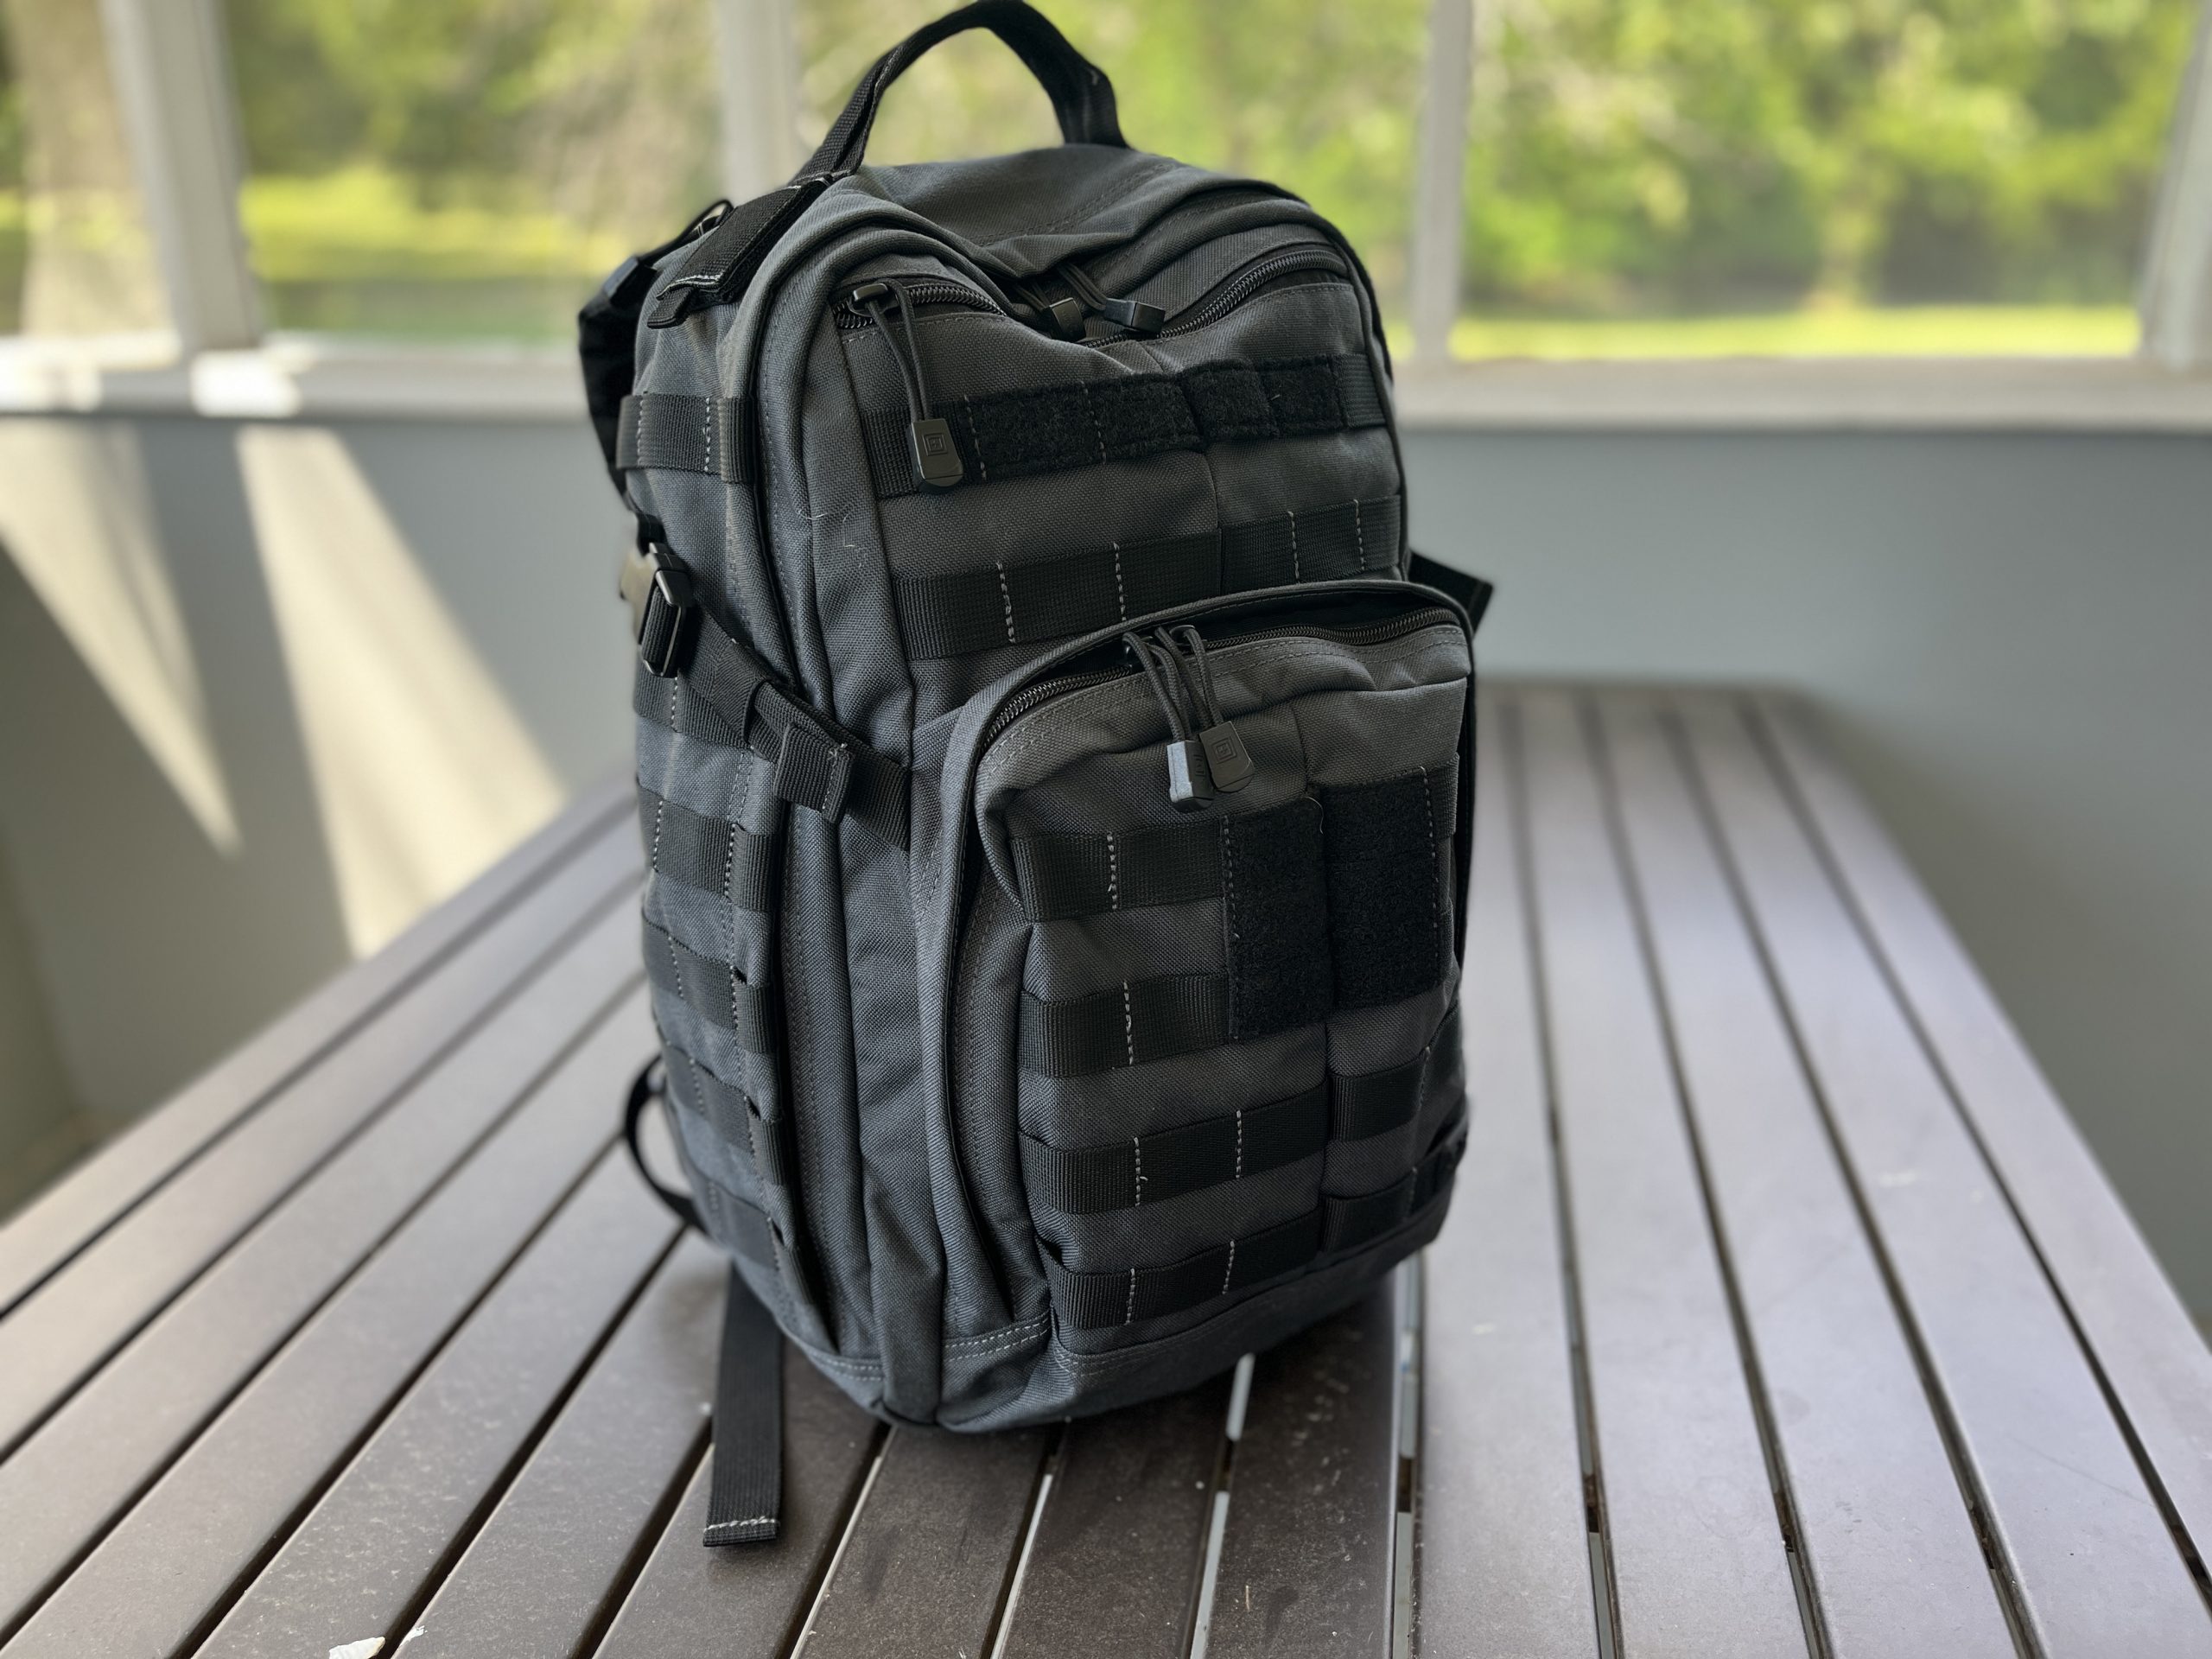
Besides deciding what should be in your bag, you also must find the right bag that works for you. The larger the bag, the more it can hold, but the heavier it can be. I chose to use a 5.11 medium-size tactical molly backpack for my get-home bag, but many backpack options like Vertex, GPS, or Allen Intercept tactical can work great for any size of bag you put together.
When packing the bag, it’s best to place the heaviest items in the bottom, but also keep in mind there are some items you may want to access without digging through your entire bag. I like to keep a knife, flashlight, and gun where I can get to them the quickest. Next is the first aid kit and tourniquet with the rest of the items packed away under that.
Make It Work for You
Whatever the reason or purpose for the bag you set up, make it work for your needs. There are a lot of great sites out there that will give you some good options of items to keep in your bag but don’t just copy one and call it good. Look through them for ideas and set one up that is customized for your own needs. Then train with that bag and make sure you know where each item is and that all items in the bag stay refreshed and up to date. Be prepared and stay ready while hoping you never need it.