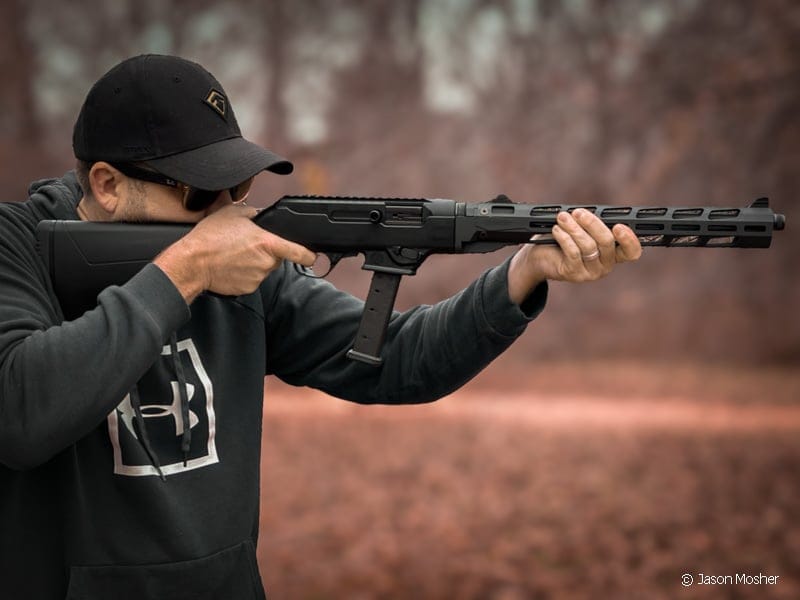
Do you have a Ruger PC Carbine but haven’t cleaned it yet? The PC is not hard to disassemble, but it does require more work than some other types of rifles. You can put a lot of rounds through some modern guns before they need cleaning.
Keeping the Ruger PC Carbine clean and oiled will help ensure it cycles smoothly. With some help from Global Ordnance, I’ve spent quite a bit of range time with my PC carbine. The first time I cleaned it, I had about 500 rounds through it. I cleaned it and was surprised to see a considerable amount of build-up between the receiver and the magwell insert. Luckily, the mag well insert is easy to take out, so it’s not a big deal.
To disassemble the Ruger Carbine, you will need a 5/32 hex wrench and a 5/32 pin punch. As always, I would also recommend using a gun cleaning on your work surface. I like Real Avid’s cleaning mats, but any gun mat will help protect your work surface and your firearm. Solvents and oils can be harsh on some finishes, so it’s good to protect them.

Field Stripping the Ruger PC Carbine
One cool bonus of the PC Carbine is the barrel assembly’s quick-release feature. It should go without saying, but make sure the magazine is removed and the chamber is empty before starting. Lock the bolt to the rear using the bolt locking lever just in front of the trigger guard. Further, you have to hold the bolt to the rear while pushing up on the magazine locking lever.
The bottom side of the handguard has a spring-loaded lever. Push the lever forward (towards the muzzle) and rotate the handguard clockwise. The entire barrel assembly will turn and pull off the receiver.
Next, we will focus on the receiver, which requires a 5/32 hex screw. Close the bolt before proceeding to the next step (pull back on it and let it down slowly). Loosen the two lock-down screws on the bottom of the gun on each side of the trigger guard. These screws hold the receiver onto the stock. Do not take the screws all the way out; just loosen them until the threads are no longer catching.

Removing the Trigger Assembly
On most rifles, the trigger assembly can be left alone. On the PC Carbine, however, you need to remove the assembly to get the bolt out. First, remove the charging handle with the same 5/32 hex bit. Keep in mind the charging handle can be reinstalled on either side of the gun. Next, remove the two pins from the receiver just above the trigger guard. For this, you will need an armorer’s punch (I used a 5/32 punch). Tap both pins out and pull the trigger guard off the receiver. See the photo above for pin locations.

Cleaning and Reassembly
At this point, the PC Carbine is ready to clean, oil, and reassemble. Everyone has their own preference on how they clean and what products they use. Unless I see carbon build-up, I like to wipe off all metal parts with a cleaner. I use Slip 2000, or True Blue biodegradable cleaner. This gets the dirty oil off the metal parts, which collect most of the dirt. For oil, I use several types, depending on the gun and where I am cleaning them. Most of the time, I use Real Avid Tri-Max or True Blue synthetic gun oil.

I use a 9mm nylon bore brush with cleaner, followed by a bore snake on the barrel assembly. If a lot of ammo has been fired through the barrel, I use a little solvent as well. This will make sure there is no carbon build-up or copper foiling. Having some copper fowling in your barrel is ok on most guns and makes them more accurate. If you plan to store the rifle for a while, you may want to use some oil in the barrel as well. Find an oil that protects against rust, spray just a small amount in the barrel, and run a bore snake through it.
Reassembly
Once you have the barrel assembly, mag well, and bolt cleaned and oiled, it’s ready to reassemble. This process is simple and the same as disassembly. The trigger pins should slide back in place without much resistance. When attaching the receiver back to the stock, Ruger suggests tightening the locking screws to 65 inch-pounds. That seems a little high to me, but that’s what Ruger says to do.
Now, you can put the charging handle back on the side of your choice. Just like the locking screws, tighten the charging handle to 65 inch-pounds. Before attaching the barrel assembly back to the receiver, make sure to lock the bolt to the rear again. The barrel assembly will connect in the same position as when it came off. Turn counterclockwise until you hear it lock in place. Perform a function check on the gun to make sure everything is working correctly.
After that, your Ruger PC Carbine is ready for another fun day at the range. In another article, I’ll be switching out the synthetic stock for Woodshop Wednesday’s dark Walnut stock. If you like the PPSH look, keep an eye out for that article and see an awesome upgraded transformation.


