Palmetto State Armory released the PSA Dagger over a year ago and it was a big hit. Most know it as the “half-priced Glock.” This being the case, there is a lot of room for improvement just as there would be in a stock Glock. PSA itself has released some upgrades such as slide serrations, different paint styles, and most importantly, an optic-cut slide. Below are some of the upgrades that you can do at home to make a $300 gun into a $900 gun—and more importantly, an efficient and effective firearm.
Stripping the Gun
To install all of these upgrades the slide needs to be fully stripped. The instructions that come in the PSA Dagger kit do not go past removing the slide from the frame. This is probably due to warranties and such, (so if you are sending it back to PSA for any reason remove the upgrades and return the gun back to stock condition), and there are multiple differences when fully disassembling the dagger compared to a normal Gen 3 Glock. You will need a roll pin punch, a hammer, and a lot of patience. Things just don’t come out as easy on the Dagger as they would on a Glock.
Two spring pins will need to be removed by punch and hammer. No more push pins like the Glocks. The trigger pin is a push pin and will need some good taps and finagling of the trigger to remove.
Note: The pins inside the Dagger are actually “spring pins”. Meaning instead of roll pins that roll onto themselves, these pins are cut in half and spring together. This means that when they are removed they spring out, making them technically not reusable. In the Army, we are instructed to never reuse spring pins but can reuse roll pins. Spring pins are definitely a cheaper way to design something.
If you have a threaded barrel on your Dagger, the thread cap and rubber O ring will need to be removed to remove the barrel from the slide, which should be done when installing an optic to have a flat service and not mar any of the internals of the slide.
Tips and Tricks for Disassembly and Reassembly
- Use the correct punch. This means a straight punch that is long enough and skinny enough to get through the whole frame without gouging it. Sometimes punches get larger at the base which can gouge whatever the punch is pushing the pin out of, especially plastic. Also, ensure that it has a nipple. A flat punch can flatten the spring pin.
- When reinstalling everything you may want to use a slave pin when it comes to pushing the trigger pin through. Often what happens is that the trigger lines up pretty easily but the slide lock doesn’t want to. First use a punch and push it through the frame and the trigger, acting as a slave pin, then slide your finger into the frame where the slide lock is seated. Lift up gently until everything is lined up, then push the pin through. You may need to give it a couple of taps. However, if it really isn’t moving don’t keep tapping, it probably isn’t lined up.

The Apex Tactical Trigger
The PSA Dagger does not come with a very nice trigger, to begin with. The stock trigger is heavy and gritty and could very well use an upgrade. That upgrade is the Apex Tactical Trigger.
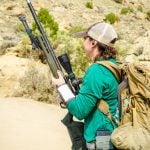
- Action Enhancement Kit for Glock Gen 3/4 (Black)
- Price: $140.00
Installation
Installation is pretty simple when it comes to this trigger as no permanent modifications need to be done to install it. There are three pieces inside the Apex trigger kit: the safety plunger, trigger with trigger bar, and the connector. After fully stripping the slide, simply push these pieces out of the Dagger and reinstall the Apex parts.
Tips and Tricks
- The “S” spring does not need to be totally removed from the trigger mechanism. Keep the trigger mech side installed onto the “S” spring so that you don’t mess up the orientation when putting it back together because it can be installed upside down, and that would not be good
- The original safety plunger spring will need to be reused for the new trigger. When removing it from the stock plunger, twist the spring out, do not pull. This will stretch and wear out the spring.
- Carefully use a punch to push the stock connector out of the trigger mechanism so as not to bend it.
- When putting the apex trigger back into the gun, the trigger bar will need to be held close to the trigger mechanism to keep the bar from sliding off of the back lip on the connector. Sometimes the bar will slip off and be held on by the taller of the two lips of the connector. You want the trigger bar all the way back and down on that connector and the only thing holding it on that connector will be the frame, once installed.
Don’t forget to keep the stock parts! They could come in handy later. Put them in a marked plastic bag.

The Slide and Optic
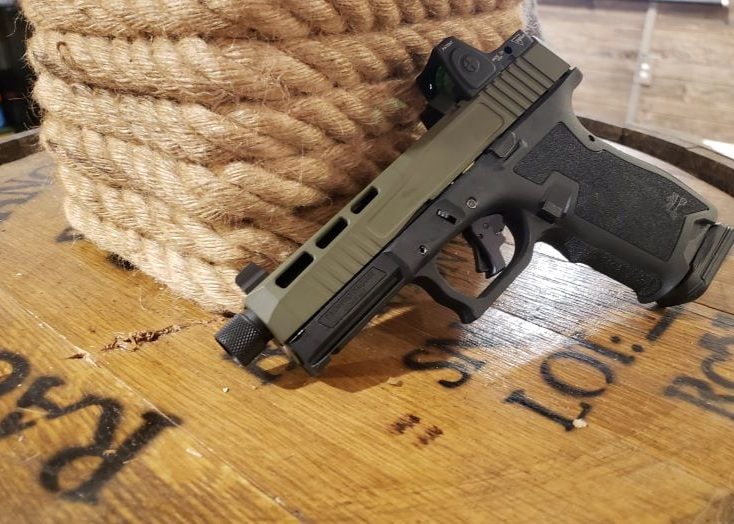
- The PSA Dagger SW2 RMR Slide Assembly with Threaded Barrel, Extreme Carry Cut, 2XL Tall Sights, Sniper Green
- Price: $279.99
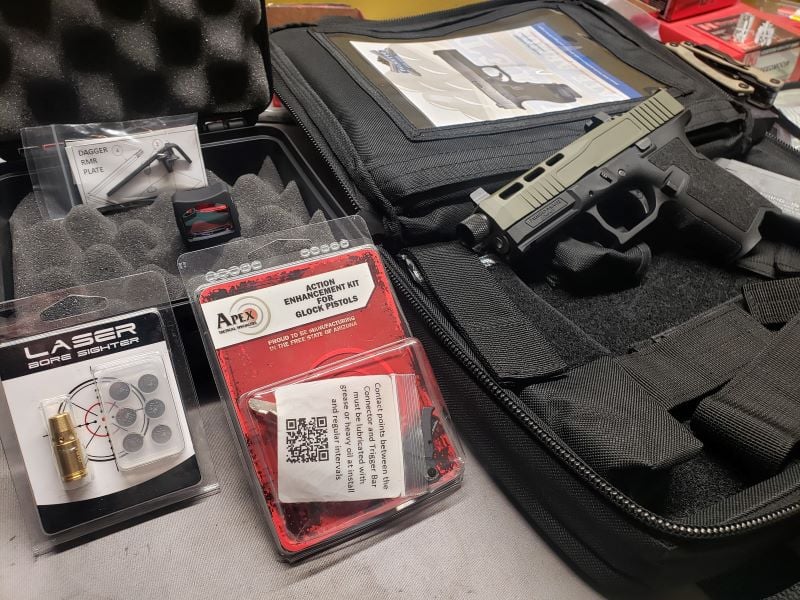
This slide makes you forget about this gun being lower in price. The slide features milled windows on the right and left of the slide, a rear sight cut in front of the optic, and the RMR cut with recoil lugs. The work of a professional machinist to do this to a stock slide would be more expensive than buying this slide outright, not to mention the great paint work on the slide. It really is an impressive slide with a good price point. It also comes complete with suppressor height sights to clear the optic and suppressor. No extra work is needed after purchasing this slide.
In the kit with the gun there is an optic cover plate and two sets of screws and two wrenches for the screws. (PSA forgot to include the other Allen wrench in my order which is why it is not pictured)
- The Trijicon RMR
- Price: $449.99
The optic is what makes this a faster and more effective firearm.
Note: There are two different optic cut slides. The “RMR Cut” slide and the “Doctors Cut. The RMR cut is compatible with Trijicon, Holosun, and Swampfox sights. The Doctors cut is compatible with Vortex, Doctor, US Optics, and Burris sights. For more compatibility questions see PSA Blog under PSA Dagger Optic Installation.
Tips and Tricks
- PSA recommends using the included 2mm screws inside the package and not to use other manufacturer’s screws. This is probably due to how they cut the slide for the screws and how they put the firearm through testing. I chose to use the included PSA screws as if anything happens the gun should still be covered under PSA’s 100% lifetime warranty.
- Seat the Allen wrench all the way into the screws. Due to being really small screws, it is easy to strip the Allen or the screw head if not seating it all the way in to catch the head of the screw.
- If you have been touching the slide, use a degreaser or solvent to clean the slide before installing the optic.
- Use Vibra-Tite or a type of Loctite on the screws that can be removed without heating. I used Loctite 248 medium strength because I was out of Vibra-Tite.
- Witness mark your screws to ensure that you will notice if they move or come loose.

Borelighting the Optic
- EZshoot Bore Sight 9mm Laser Boresighter with 3 Sets of Batteries
- Price: $17.99
The last thing before going to the range to properly zero the optic and function check the gun is to borelight. This can be done at home with no live rounds. After installing batteries into the laser, simply insert the bore sight into the bore of the barrel and gently close the slide onto the laser. Aim at something around 10-15m. This will be where you will align your bore and your red dot. Looking through the optic line up the dot with the laser dot that is on the wall.
Walla! You are now much closer to zeroed and without wasting live ammo.
Note: As always, you are not truly zeroed until you verify with live ammunition at your preference of distance.
Other Upgrades
If I were to do any more upgrades or ask PSA for them I would ask for upgrades on the iron sights and the mag release. The mag release on the Dagger is a very sharp small square and not very ergonomically friendly. The mag release spring is also very stiff making the release hard to push.
The iron sights that come with the slide are plain black irons both front and rear. While PSA does offer Ameriglo sights on some of their slides, it would be cool to either get better irons from PSA in general or offer Ameriglo sights on all of their slide options.
PSA Part Compatibility and Warranty
Please Note: Glock Rear Sight Pushers will not work with Dagger Rear Sights because Dagger Sights are steel versus Glock (stock) Rear Sights are plastic. The following products are recommended for Rear Sight adjustments.
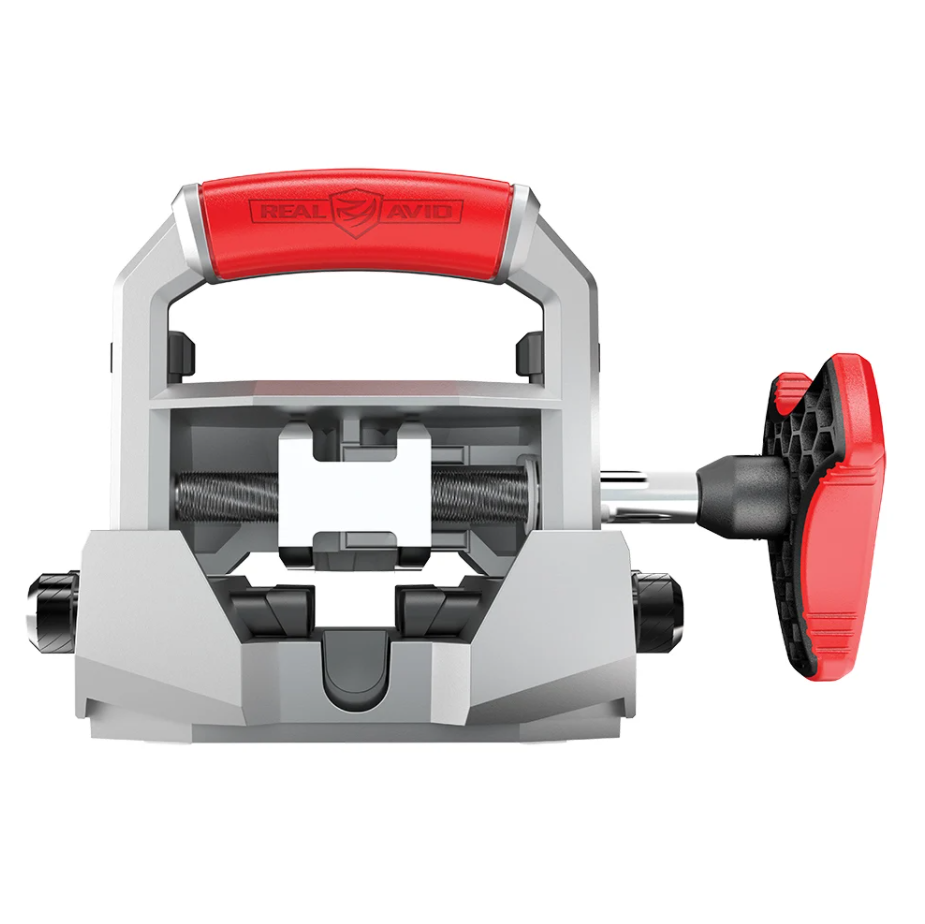
- Real Avid Master Sight Pusher – AVMSP
- NcStar Pistol Rear Sight Pusher Tool