Cleaning day isn’t the thing most gun owners look forward to most when it comes to spending time with firearms. Sure, guns need to be cleaned now and then, but when you’d rather be sending rounds down-range, it can feel like punishment. If you own revolvers and have always wondered if you’re cleaning them correctly—or if you really need to clean them at all—we’re here to help. Consider this your how-to guide for the basics of revolver cleaning.

Do revolvers need to be cleaned?
In reality, some people have a tendency to overdo it with the cleaning. Guns should be cleaned periodically and if you’re going to be storing your revolver in the safe for a while then yes, you should clean and lube it. If it’s a gun you use regularly or semi-regularly, though, the frequency of cleaning can be a bit more limited. Yes, you should clean your revolver; no, you don’t need to clean it constantly or even that often.
What do I need to clean my revolver?
Could you just clean your revolver with a bottle of CLP and some rags? Technically you could, but you’ll do a far better job with a few more supplies. Tools designed for use on the metal of firearms that won’t damage the surface are nice to have on hand as are the various small tools that make the job easier. Consider adding these things to your revolver cleaning toolbox:
- Revolver maintenance guide, if one is available
- Cell phone (you’ll thank me later)
- Gun mat, towel, or something else to protect the surface of your workspace
- Non-marring hammer (one brass end, one nylon/plastic)
- Magnetic-tipped gunsmith screwdriver bit set (Brownells Magna-Tip Screwdriver Set is fantastic)
- Allen key/hex wrench set, if needed
- Rebound slide tool
- Tweezers (preferably a delicate set with a light)
- Pin punch set
- Safety glasses (springs fly)
- Gun CLP, lubricant, and any other cleaning and lubricating products made for firearms
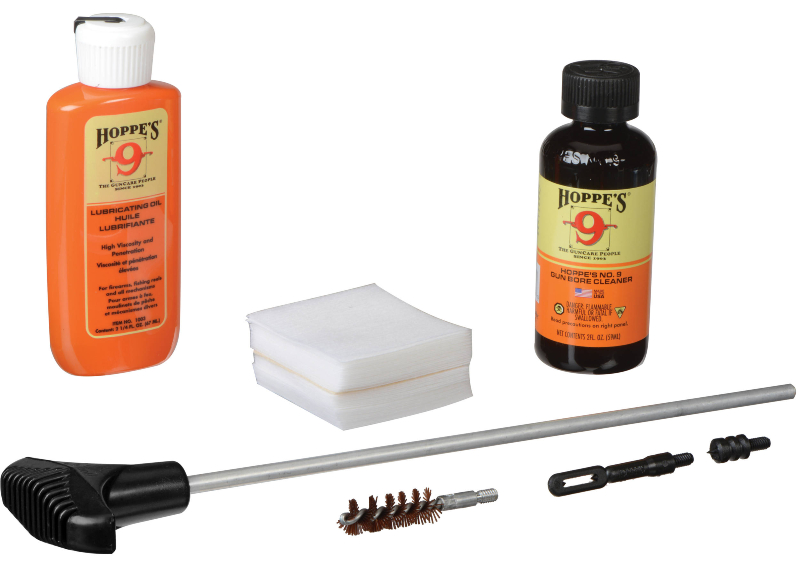
- Cleaning kit for revolvers with rod, jags or loops, patches, and the appropriate brushes
- Shop rag or paper towels
- Q-Tips

How To Clean a Revolver
Step One: Follow the Four Safety Rules
The first step you should take when getting ready to clean your revolver—or any gun—is making sure it’s empty. It doesn’t matter if you think you put it away empty the last time you used it or if someone else checked. Always check the status of a firearm when you pick it up. Then double-check it.

Follow the four safety rules:
- All guns are always loaded.
- Never let the muzzle cover anything you aren’t willing to destroy.
- Keep your finger off the trigger until you’re on target.
- Know your target and what is beyond it.
Swing open the cylinder of your revolver—or, if it’s a side-loading model with a fixed cylinder, open the loading gate—and check each chamber to be sure they’re empty. Check the barrel, too. It’s best to do this visually and also by touch, and never a bad idea to do it twice.

Step Two: Basic Takedown
The instances in which you’ll need to field-strip and fully disassemble your revolver are few and far between. It’s a good idea to do an in-depth cleaning and inspection of parts once a year, but otherwise, a basic cleaning is fine. To do a quick cleaning, simply swing open the cylinder and run a bore brush soaked in solvent through the chambers and barrel, then lube. If you’d like to do a little more than that, but not a major disassembly, here are the extra steps.
- Remove the grip panels or grip sleeve. Do this by using a screwdriver with a bit that precisely fits the screws in question. Oversized bits won’t fit and the excess can permanently scratch the revolver’s finish. Undersized bits can slip and do the same.

If the grip panels stick after the screws are removed, gently attempt to pry them loose with a fingertip. Still stuck? You can use your non-marring hammer to carefully tap the frame and loosen the panels.
- Do not remove the side plate, barrel, or barrel shroud. The side plate only needs to be removed for parts inspection and in-depth cleaning. As for the barrel and barrel shroud, they should only ever be removed by a qualified gunsmith (if that’s you, great, but most of us aren’t skilled enough to mess with those parts).
- The cylinder doesn’t have to be removed from the frame. If you’re familiar with how yours is removed and replaced, go ahead and remove it, but know that it’s not necessary for this cleaning. Swinging the cylinder open will suffice. If you have a fixed cylinder revolver, you’ll open the loading gate and rotate the cylinder by hand to clean the chambers. You can save entirely removing the cylinder from the frame for the annual inspection and deep-clean.

Step Three: Cleaning Your Revolver
You can use just about any cleaning agent and lubricant on the market that’s designed for firearms. No, they’re not all created equally, and no, you shouldn’t clean your guns with WD-40 or motor oil.
Another important piece of information to consider is that most revolver manufacturers state that ammoniated or alkaline solvents should never be used. Also, ultrasonic cleaners and extended exposure to solvents isn’t recommended. Extending the life and performance of your gun means not exposing it to products that could eat away at it.
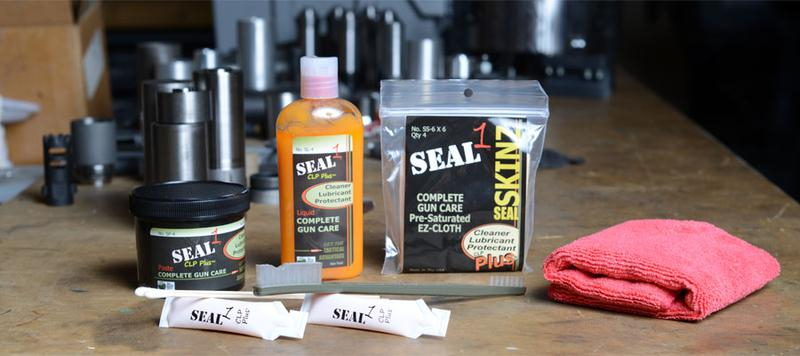
One great product is Seal 1, a non-toxic CLP that can be used for both cleaning and lubricating your revolver. If you’re using a CLP like Seal 1, you only need a single product for cleaning and lubing. However, if you use a solvent, you’ll also need to go back over the gun with a lubricant.
First
Soak a brass bore brush with SEAL 1 CLP Plus Liquid or whatever solvent you’re using. Cleaning from the chamber end of the barrel, not the muzzle end, run the brush back and forth vigorously. Unless your gun was barely dirty to begin with, you’ll need to put more solvent on your brush at least one time.
Next
Change to a cleaning rog with the appropriately-sized jag on the end. Using a pre-treated product such as Seal 1’s Seal Skinz can simplify this part. If you don’t have one, soak a dry cleaning patch with solvent. Run the patch through the barrel until it comes back clean. This will probably require you to use multiple patches.
Cleaning the cylinder comes after the barrel.
Use the correct size brass bore brush, soak it with solvent, and run it through the chambers. Take the time to thoroughly clean every chamber before moving on to the next step.
Back to the cleaning rod with the jag attached.
Put a patch soaked with solvent through the jag and run it through each chamber. Repeat until every chamber is clean and the patch comes back clean, which will probably mean swapping out patches a few times.
Dampen a rag with lubricant and use it to wipe dirt off the frame.
This is when you’ll wipe down the metal that was hidden by the grip panels or grip sleeve. Dirt collects in those areas, so take a moment to wipe it off.

This step varies depending on whether you’re using an all-in-one like a CLP or a separate solvent and lubricant. Using either your CLP or changing to a lubricant, run clean, wet patches through the barrel and chambers to coat them lightly. Then, using the rag that is damp with lubricant, wipe down the entire frame of the revolver so it has an extremely light coating of lubricant.
Reassemble your revolver, hit the range, and get it dirty again.
Just like any gun, revolvers don’t need to be squeaky clean at all times. They do, however, need occasional cleaning. Keeping your revolver in good condition will increase the longevity of its parts and improve its overall performance.
How often do you clean your revolver, and what do you clean it with? Tell us what you use in the comments section.
