When you buy a new gun, there is a feeling of excitement. A little bit like the way you felt on your 10th birthday when you received your first BB gun. Do you know what the most frustrating thing is that can happen with that gun? You take it to the range, and it doesn’t function right. But the second most frustrating thing is buying a good leather holster that is too small for the gun. Now you have a nice leather holster that’s too small for your prized handgun.
What if I told you that was normal, and it was supposed to be too small? Some leather companies will try to pre-mold them to fit the model of gun you have. But the rest of them leave the holster snug and they do it for a reason.
Once you have the hang of it, molding a leather holster to fit your gun is not hard at all. It takes just a little patience and a few ingredients. I have some holsters that need a little molding and forming so let’s walk through the process. As a disclaimer, I am not a professional leather worker. I have molded and formed dozens of holsters over the years, and they have all held up nicely. Let’s go over the process.
1. Prep the holster and gun.
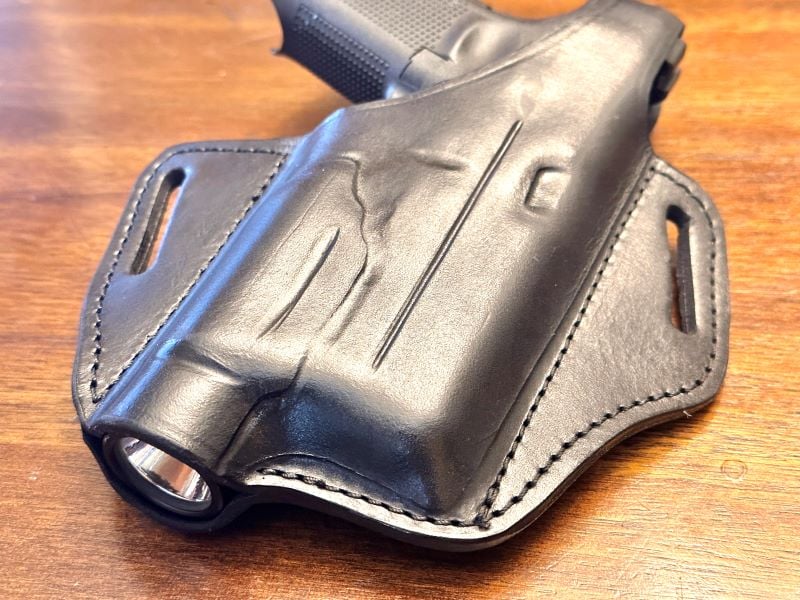
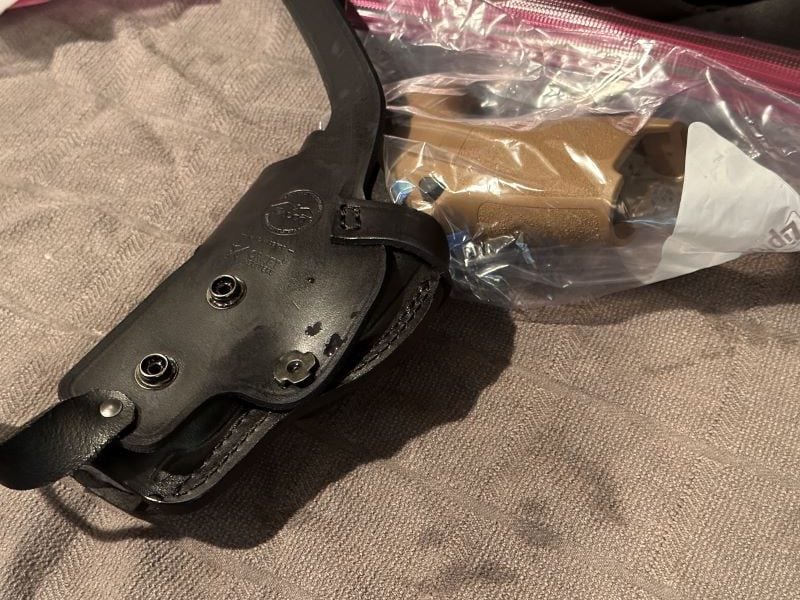
There are a few different ways to mold your leather holster to your gun. The easiest way is the wet-fit method. For this, I am going to work on a Craft shoulder holster for my Sig M17 pistol and a Falco leather belt holster for my G19 with a tac light. The M17 will fit in the holster, but it’s too hard to draw without using both hands. The Glock will not even fit in the holster.
For the wet-fit method, a bowl or pan of warm water is needed. Hot tap water is fine, but don’t boil the water or get it too hot to put your hands in. Take the holster and submerge it in the water for about 20-30 seconds and then take it out. Set it to the side while you prepare your gun for fitting. The gun needs to be protected from the water so it will need some type of barrier. Some like to use plastic wrap but it can tear easily and get water on your gun.
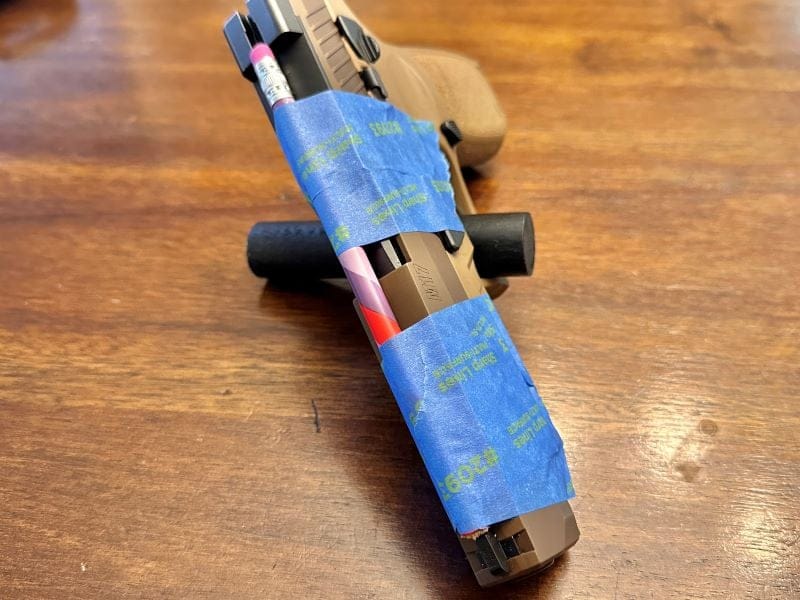
Make sure there is room for the sights.
On some holsters, the iron sights on your gun will rub the leather when you draw it. This can be hard on the sights over time. To help mold a v-groove in the leather for them, I use a pencil or dowel rod. Cut the pencil so that it fits in between the front and back sights. Use painter’s tape or plastic wrap to hold it in place. This will help the leather mold a grove for the sights to slide through. As the leather dries around the pencil, it will leave room for the sights to travel through without constantly rubbing on them.
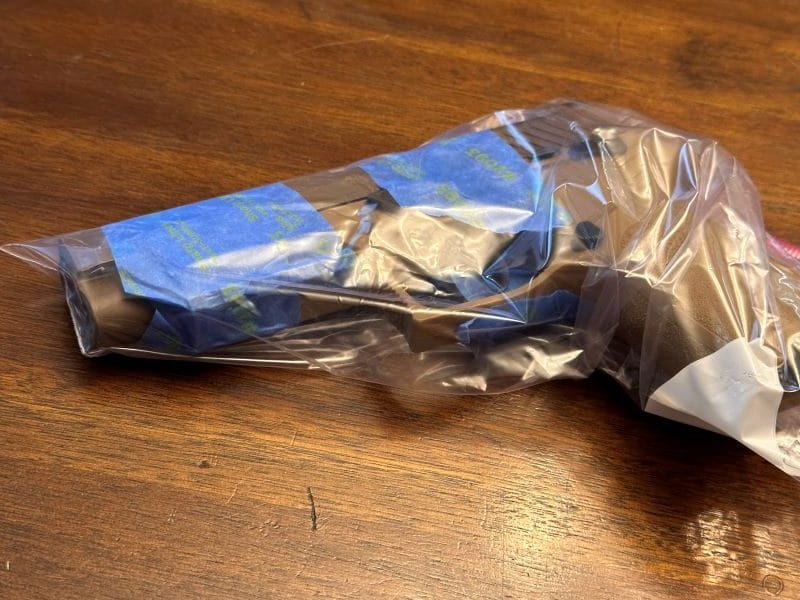
I like to use a gallon-size resealable plastic bag because it is thicker than plastic wrap. This helps make the holster just slightly bigger than the gun, which causes it to fit nicely. Make sure your gun is empty and safe to handle. Place the gun in the bag and get as much air out of it as you can. Once you have done this, work the gun into the holster. Work the leather with your fingers and make sure the gun is seated all the way in.
2. Mold and fit the leather holster to the gun.
With the gun in the holster, you can start to work the leather around the gun. Push the leather around the gun so it forms around each part. A spoon or something smooth can be used to help push on the leather, just be sure not to scratch the leather. Once you have done this, set the gun aside for 24 hours.
As the leather dries, it will retain the shape of the gun inside it. After the holster has set for 24 hours, remove the gun. I would recommend wiping some oil on the gun in case any water got on it. To see how it fits, place the gun (without the bag) into the holster. It should fit like a glove at this point.
To keep the leather from drying out, the leather needs to be oiled. If you want to use some type of fine leather oil or treatment you can, but I just use olive oil. If you have leather boots, oil for boots can be used too. Leather holsters should be oiled on a regular basis like anything else made of leather. Once the holster has been lightly oiled, it is ready to use.
Other Methods and Considerations
While water is the easiest way to custom fit a leather holster for a gun, some holsters have finishes on them that could be damaged by soaking them in water. If the holster has a polyurethane finish or some type of coating, check with the manufacturer first. When I am not using water, I use denatured alcohol on the holster. With this method, you want to be careful not to get the alcohol on the outside of the holster.
The alcohol can eat off the finish and leave a permanent blemish. I use a small swab and slowly dab the inside of the holster with the alcohol. Once the inside has been soaked, place the bagged gun in the holster just like above. If the holster has a thumb strap that is too short, place some denatured alcohol on the back side of the strap and pull on it to slowly stretch the strap.
Once you get the strap over the gun and snap it, leave it for 24 hours. If you live in a humid environment, you may need to leave the gun in the holster for more than 24 hours. Moisture left in the holster it will cause it to continue to shrink as the leather dries if the gun is not in the holster. If you really don’t want to get your holster wet or use denatured alcohol, you can dry-fit it.
This is the simple process of placing your gun in the holster and leaving it for an extended period. I still use a bag when I do this because the extra millimeter of thickness helps give it that extra room to slide in and out without issue. This method can take a long time depending on the humidity, temperature, and the leather.
Leather Holsters — Fit Like a Glove
I used to get frustrated when my leather holsters would not fit my guns just right. Once I learned how to mold them, I started custom-fitting each holster as soon as I acquired it. If taken care of, a leather holster will last a lifetime. We have entered an age of polymer holsters, but it’s still hard to beat a good quality leather holster for a good quality handgun.
You can find shoulder holsters, belt, ankle, paddle, and inside-the-waistband holsters available in leather if that’s what you’re looking for. Just remember that leather needs a little maintenance and if you think it doesn’t fit, there is a good chance it just needs to be molded to the gun. And if done correctly, it will fit like a glove.